Prerequisites
- You must be logged in as a Primary Admin or have the “Manage Roles” permission
- Plan which permissions each role needs before creating it
Steps
1. Navigate to Settings
Go to https://msportal.ai/company_overview and click on Settings in the main navigation.
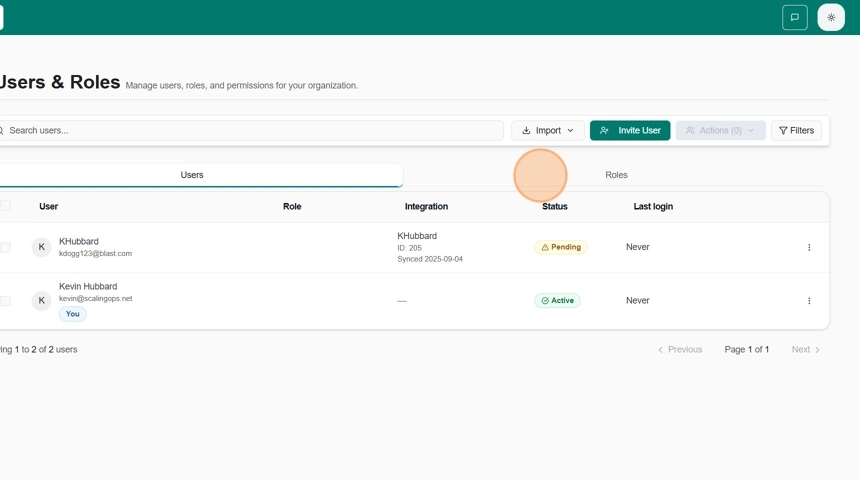
2. Access Users and Roles
Click on Users and Roles from the Settings menu.Important: You must create roles before importing users, as each user must be assigned to a role.
3. Configure Role Permissions
On the Create Role form, configure the following:Role Details
- Role Name: Enter a descriptive name (e.g., “Help Desk Technician”, “Account Manager”)
- Description: Add a brief description of the role’s purpose
- Set as Default: Check this box if you want this role to appear first in dropdown menus
Permission Levels
Permissions are organized by module with three access levels:- Read: View-only access to module content
- Write: Can create and edit items (tickets, tasks, etc.)
- Manage: Full module administration including settings
Module Permissions
Select appropriate permissions for each module:- Company Overview
- Ticketing
- Training
- Compliance
- Reporting
- Calendar
- Planner
- Devices
- Budgets
- Goals
- Surveys
Administrative Settings
The Settings section at the bottom controls system-wide permissions:Warning: Be cautious when granting Settings permissions, especially:
- Import/Export permissions (access to sensitive data)
- User Management (can create/modify other users)
- Integration Settings (can modify external connections)
Recommended First Roles
- Administrator: Full access to all modules and settings
- Manager: Read/Write access to most modules, limited settings
- Technician: Read/Write for tickets and devices, read-only elsewhere
- End User: Read-only access to relevant modules
4. Save the Role
Once you’ve configured all permissions, click the Create Role button at the bottom of the form.
Next Steps
- Import users and assign them to the new role
- Review and adjust permissions as needed based on user feedback
- Create additional roles for different team functions
Tips
- Start with restrictive permissions and add more as needed
- Document each role’s purpose for future reference
- Regularly audit role permissions to maintain security
- Consider creating template roles that can be duplicated and modified