Prerequisites
- Administrator access to your Halo PSA instance
- Access to the Configuration area in Halo PSA
Creating a dedicated MSPortal role and API-only agent is recommended for security best practices. This ensures the integration has only the permissions it needs and provides clear audit trails.
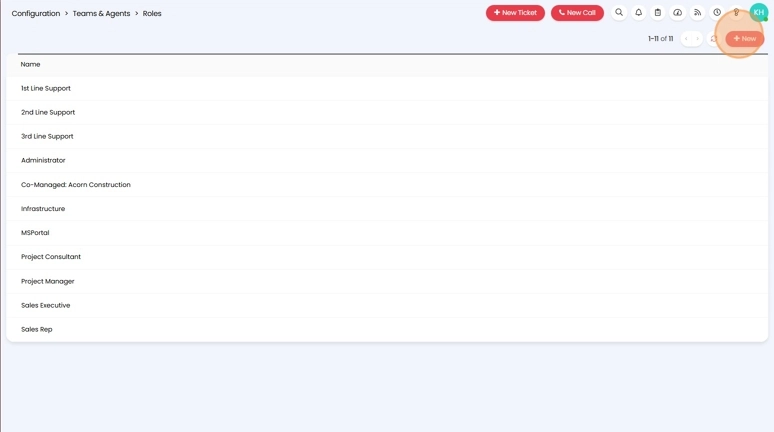
Create the MSPortal Role
Configure Role Permissions
Under the Permissions section, configure the following settings:
General Permissions
General Permissions
| Permission | Setting |
|---|---|
| Is a HaloPSA Administrator | Not set |
| Editing of own Preferences | Not set |
| Editing of own Notifications | Not set |
Feature Access
Feature Access
| Module | Access Level |
|---|---|
| Tickets | Read and Modify |
| Customers | Read and Modify |
| Users | Read and Modify |
| CRM | Read and Modify |
| Assets | Read, Modify and Delete |
| Calendars and Appointments | Read and Modify |
| Knowledge Base | Read, Modify and Delete |
| Suppliers | Read and Modify |
| Products | Read and Modify |
| Sales | Read and Modify |
| Quotations | Read and Modify |
| Sales Orders | Read, Modify and Delete |
| Purchase Orders | Read and Modify |
| Billing Details | Read and Modify |
| Invoices | Read, Create, Modify and Delete |
| Reporting | Read and Modify |
| Customer Agreements | Read and Modify |
| Supplier Agreements | Read and Modify |
| Service Catalogue | Read and Modify |
| Software Releases | Read and Modify |
| Timesheets | Read and Modify (All) |
| Software Licencing | Read and Modify |
| Segments | Read and Modify |
| Documents | Not set |
| Mail Campaign | Read and Modify |
| Event Management | Not set |
Tickets Permissions
Tickets Permissions
| Permission | Setting |
|---|---|
| Can add new Tickets | Yes |
| Can edit closed Tickets | Yes |
| Can view Unassigned Tickets | Yes |
| Can view Tickets assigned to other Agents | Yes |
| Can change a Ticket’s Ticket Type | Yes |
| Can Re-assign Tickets | Yes |
| Can Edit Advanced Ticket Details | Yes |
| Editing of Actions | Can Edit All Actions |
| Can manually adjust billing time allocation per action | All |
| Can recalculate billing against Tickets | Yes |
| Can Delete Tickets | No |
| Can assign to Agents in Teams the Agent is not a member of | Yes |
| Can Edit Tickets Which Are Not Assigned To Them | Yes |
| Can override maximum priority escalation at ticket type level | Yes |
| Can Override Ticket Review Processing | Yes |
| Can use the Treat as Spam button | Yes |
| Can export tickets | Yes |
| Can always update Ticket Statuses outside of actions | Yes |
| Can remove To-Do items | Yes |
Calendars and Appointments Permissions
Calendars and Appointments Permissions
| Permission | Setting |
|---|---|
| Editing of Appointments | Can Edit All Appointments |
| Adding New Appointments | Can Add All Appointments |
| Visibility of Appointments | Can View All Appointments |
| Deleting of Appointments | Can Delete All Appointments |
Restrictions
Restrictions
| Restriction | Setting |
|---|---|
| Allow use of all Ticket Types | Yes |
| Allow use of all Customers | Yes |
| Customer Group Override | Not set |
| Allow use of all Asset Types | Yes |
| Allow use of all Asset Fields | Yes |
Billing Permissions
Billing Permissions
| Permission | Setting |
|---|---|
| Can View Item Costs | Read Only |
| Can View Item Prices | Read Only |
| Can View Product SKU | Read Only |
| Can View Agent Costs | No |
Configuration Permissions
Configuration Permissions
All configuration permissions should be set to Not set (disabled). The MSPortal integration does not require configuration access.
Create the API-Only Agent
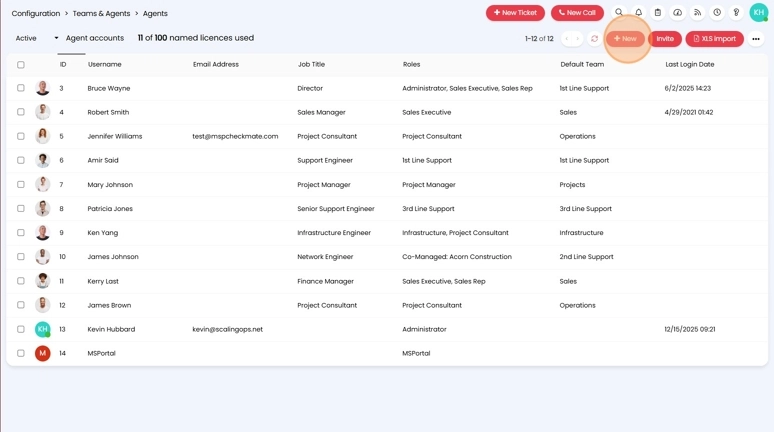
Create New Agent
- Click New
- Enter MSPortal as the agent name
- Check Is an API-only Agent
- Select MSPortal from the Role dropdown
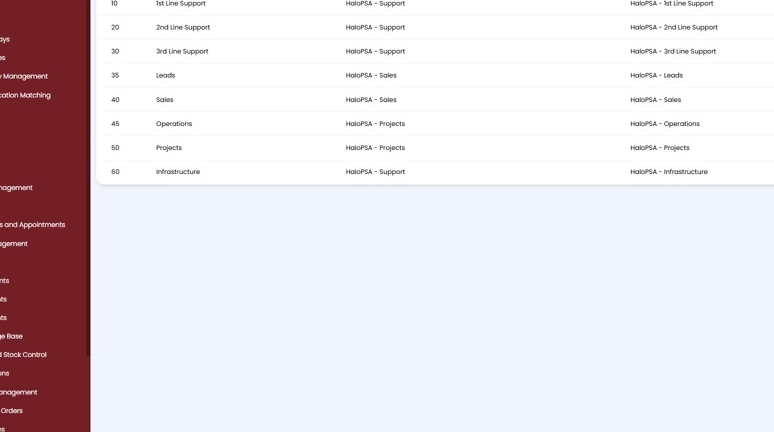
Assign Departments and Teams to the Role
Open the MSPortal Role
Go to Configuration → Teams & Agents → Roles, then click on the MSPortal role to edit it.
If you skip this step, the MSPortal integration may not be able to see tickets, customers, or other data associated with those departments and teams.
Link the Agent to Your API Application
- Existing API Application
- New Integration Setup
If you’ve already created an API application for MSPortal.ai, update it to use your new agent:
Edit MSPortal Application
Find the MSPortal.ai application you created during the initial integration setup.
Next Steps
Your Halo PSA integration is now configured with a dedicated role and API-only agent. Return to MSPortal.ai to:- Test the connection in Settings → Integrations → Halo PSA
- Configure sync settings for tickets and opportunities
- Verify data is syncing correctly
Configure Halo PSA Integration
Complete guide to connecting Halo PSA with MSPortal.ai