Overview
AI Ticket creation:- Analyzes user descriptions to select the best template
- Pre-fills form fields with relevant information
- Reduces ticket creation time
- Improves data accuracy and consistency
- Guides users through required fields
Prerequisites
- You must have permission to create tickets
- Ticket templates must be configured
- AI features must be enabled for your organization
How AI Ticket Creation Works
The AI system:- Analyzes your problem description
- Selects the most appropriate ticket template
- Extracts relevant information from your description
- Pre-fills form fields where possible — including fields inside embedded templates when the parent template uses them
- Highlights fields that need review
- Validates data before submission
Embedded Template Awareness
If the selected template includes Embedded Template fields, the AI also considers each embed’s inner questions when pre-filling. For example, if you describe “I need a new computer for John starting Monday — a Lenovo ThinkPad with 32 GB of RAM”, the AI may:- Select the New Hire parent template
- Set the parent’s “Need a new computer?” field to Yes
- Pre-fill the embedded New Computer Request template’s inner fields (Model, RAM) with values from your description
Parent Label > Inner Label notation so you can see at a glance which embed inner questions were filled, which still need input, and which optional fields are available. Click any unfilled required field to jump straight to it inside the embed sub-card.
Each embedded template still creates its own separate PSA ticket on submit, with its own service board, priority, and status. The AI only assists with filling the embed’s questions; it doesn’t change how embeds route or how many tickets are created.
Steps to Create an AI Ticket
1. Navigate to Tickets
Go to https://msportal.ai/tickets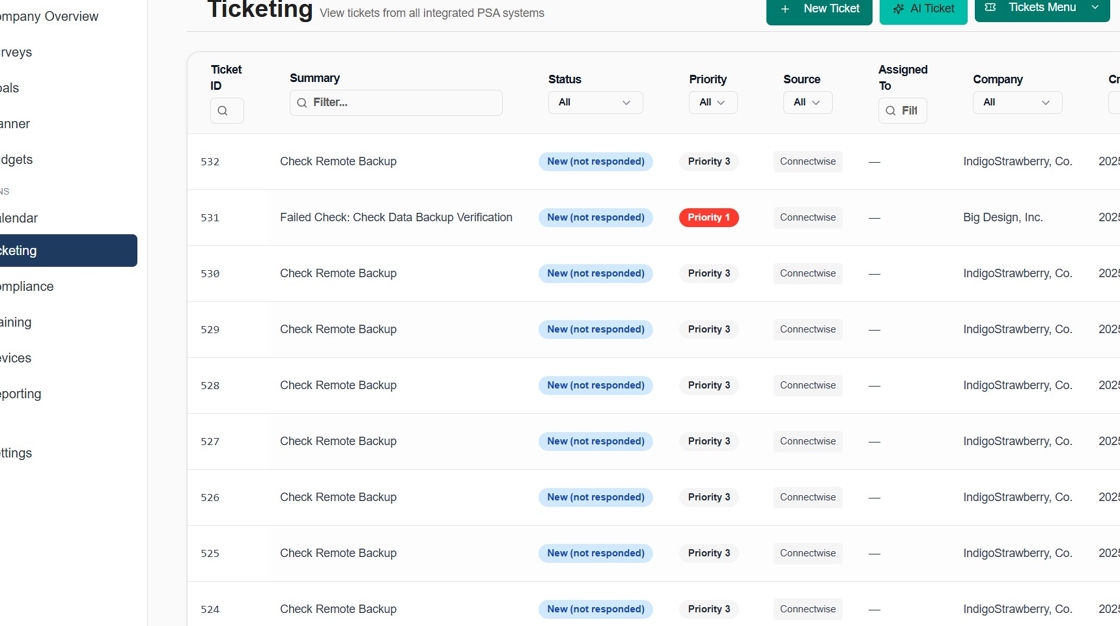
2. Open AI Ticket Creator
Click the AI Ticket button in the top navigation bar.
3. Describe Your Issue
In the AI Ticket interface:- Enter a description of your issue in natural language
- Be specific about:
- What the problem is
- When it started
- Who is affected
- What you’ve already tried
- “I need a new employee setup for John Smith starting Monday in the Sales department”
- “My email isn’t syncing on my phone since yesterday afternoon”
- “Request for Adobe Creative Suite license for the marketing team”

4. Generate the Ticket
Click Generate Ticket to let AI process your description. The AI will:- Analyze your text (takes 2-5 seconds)
- Select the appropriate template
- Fill in relevant fields
- Mark fields that need review

5. Review Generated Information
After AI processing:- Template Selection: Verify the correct template was chosen
- Pre-filled Fields: Review all automatically filled fields
- Highlighted Fields: Pay special attention to fields marked for review
- Missing Information: Complete any empty required fields

6. Complete Template Sections
The ticket form is organized into sections based on the selected template:Employee Information Section
Complete employee-related fields if applicable.
Software Requirements
Select required software from dropdowns: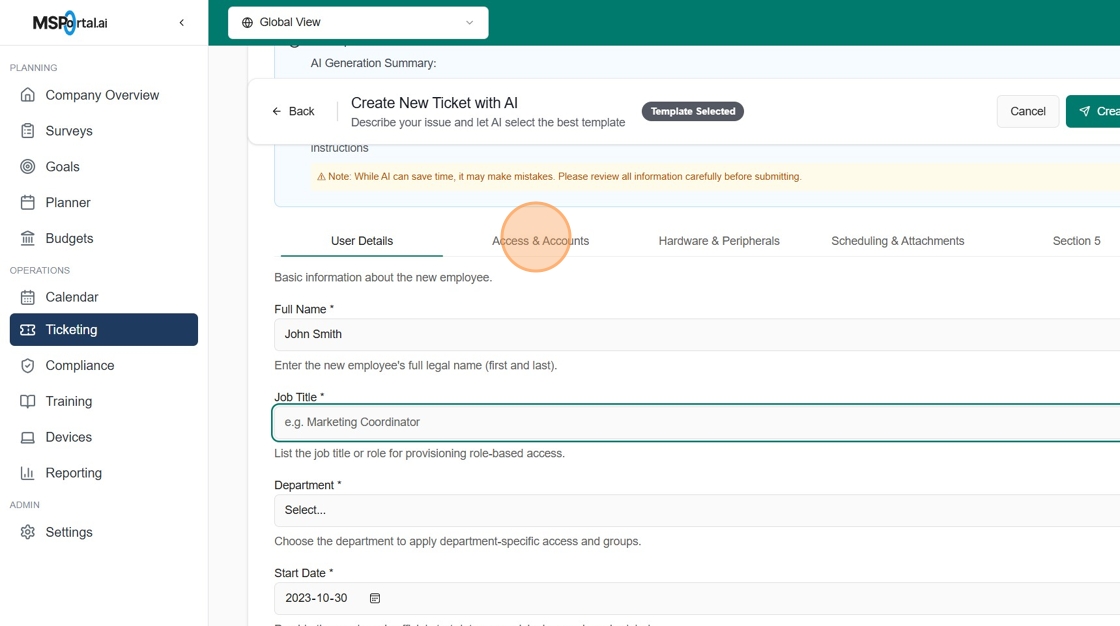 Common software options:
- Microsoft Office Suite
- Slack
- VPN Client
- Development Tools
- Design Software
Hardware & Peripherals
Specify any hardware needs: Options include:
- Laptop/Desktop
- Monitor
- Keyboard/Mouse
- Headset
- Mobile Device
7. Schedule and Attachments
Configure timing and add supporting documents:
Date Selection
Note: AI may not accurately parse dates from your description. Always verify and correct date fields manually.

8. Submit the Ticket
Once all information is complete:- Review all fields one final time
- Click Create Ticket
- The system will validate required fields
- If any required fields are missing, they’ll be highlighted

9. Handle Validation Errors
If required fields are missing:- The system will display an error message
- Missing fields will be highlighted in red
- Complete the required fields
- Click Create Ticket again

Tips for Better AI Results
Writing Effective Descriptions
Do:- Be specific and detailed
- Include relevant names, dates, and locations
- Mention any error messages
- Describe the impact on your work
- Use vague language like “it’s broken”
- Include sensitive information (passwords, SSNs)
- Use excessive technical jargon
- Write in all caps
Example Descriptions
Good: “I need to set up a new employee named Sarah Johnson who starts on January 15th in the Marketing department. She’ll need access to Adobe Creative Suite, Slack, and our project management tools.” Poor: “New person needs stuff”Manual Template Selection
If AI doesn’t select the right template:- Click Choose Template instead of using AI
- Browse available templates
- Select the appropriate one manually
- Fill in fields normally
Common Issues and Solutions
AI Not Understanding Request
- Rephrase with more specific details
- Break complex requests into simpler parts
- Use standard terminology
- Avoid abbreviations and slang
Wrong Template Selected
- Click Change Template after generation
- Manually select the correct template
- Consider updating your description for future requests
Fields Not Populated
- AI only fills fields it’s confident about
- Manually complete any empty fields
- Required fields are marked with asterisks (*)
Date Recognition Issues
- AI struggles with relative dates (“next Monday”)
- Always verify and correct date fields
- Use calendar picker for accuracy
Embedded Template Inner Fields Empty
- The AI only fills embedded template inner fields when your description provides specific information for them
- If an embed sub-card appeared but its fields are blank, expand the embed and fill the questions directly — the embed will fire its own ticket on submit either way
- Required inner fields are surfaced in the AI Generation Summary as
Parent Label > Inner Label; click them to jump to the field inside the embed
Best Practices
- Start Simple: Begin with clear, straightforward descriptions
- Review Everything: Always verify AI-generated content
- Learn Patterns: Note which descriptions work best
- Save Time: Use AI for complex tickets with many fields
- Fallback Option: Know how to create tickets manually
Benefits of AI Ticket Creation
- Speed: Reduces ticket creation time by up to 70%
- Accuracy: Minimizes data entry errors
- Consistency: Ensures proper template usage
- User-Friendly: No training required for end users
- Intelligent: Learns from your organization’s patterns