

Before you start
- You need Launch Center read access (read_launch_center), Launch Center manage access (manage_launch_center), or the matching tenant settings access to open it. The primary administrator can always open it. Company users cannot, and anyone without access is sent back to Home.
- You need manage access (manage_launch_center or tenant settings management) to change anything. With read access only, you can look at every step but you cannot save, confirm, or defer one.
- Support staff who impersonate your organization can look at Launch Center but cannot change it.
- Individual steps can need their own settings permissions, such as Standards, ticket settings, branding, or users. The step tells you when one is missing.
- Have your provider credentials ready before you connect your tools.
- Connecting integrations, importing users, inviting staff, and changing branding or billing are real changes. Launch Center is not a sandbox.
Open Launch Center
Use the sidebar
Or use the Launch pill
Start setup
On a new organization, Launch Center opens on Set up MSPortal for your team. It lists the five parts of setup, each with its step count.Read the five parts
Click Start setup
What the plan contains
- Import or match your clients and Set up tickets open after Connect your PSA.
- Plans and Add-ons open after Find your standards.
- Billing, Plan contents and Company types open after Plans.
- Detection opens after Find your standards.
- Review standards opens after Plan contents and Detection.
- Plan the roadmap opens after Review standards.
- Finish launch opens its button after every required step is done or skipped.
Use the Launch steps rail
The Launch steps rail on the left lists every phase and step.- A status icon shows whether a step is done, skipped, needs attention, is waiting, or is the current step. Optional steps show Optional. A step you deferred shows Later, and a step that does not apply shows Not needed.
- Click a step to open it. The step you are on is highlighted.
- Some steps list their tasks under them, for example the setup tasks of the PSA you chose. Click the arrow at the right of the step to show or hide its tasks.
- Click the collapse button at the top of the rail (Collapse launch steps) to shrink it to a strip of status icons. Click Expand launch steps to bring it back.
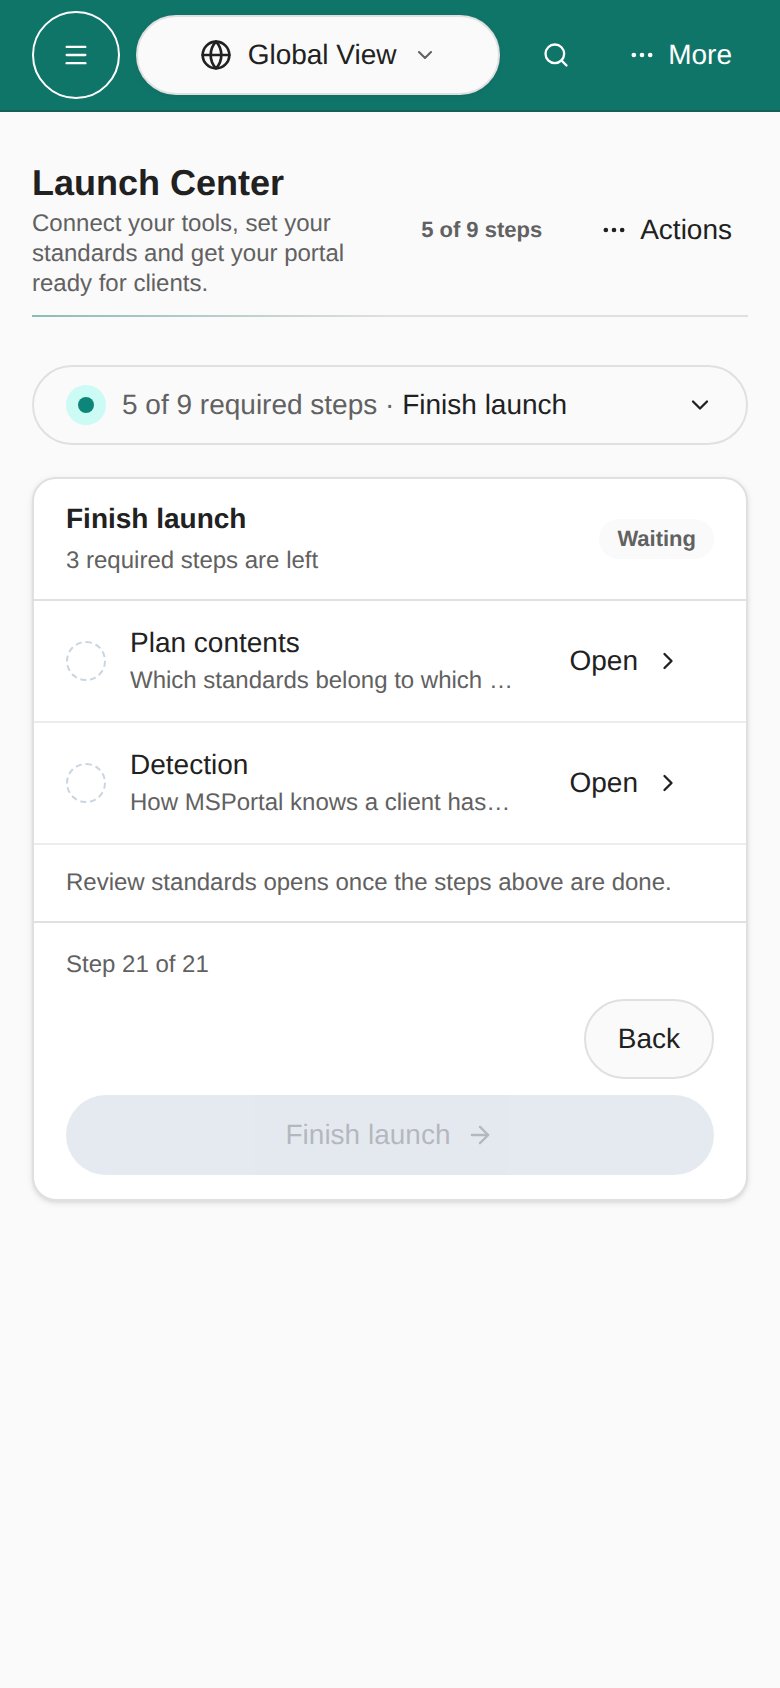
- On a phone or tablet, the rail becomes a bar above the step. It shows how many required steps are done, for example 3 of 9 required steps, and the current step. Tap it to open Launch steps in a bottom sheet.
Work through a step
Open a step
Do the setup work
Click Continue
Defer an optional step
Go back
Connect your tools
Connect your PSA and RMM
Choose your tool
Set it up
Finish the connection
Import or match your clients
Import or match your clients shows three counts. Active companies is how many clients MSPortal holds. Company types found is how many company types MSPortal sees in your PSA, and Unmatched PSA companies is how many PSA companies are not matched yet. When your PSA sets up inside Launch Center, its Import or match companies task is embedded in the panel. Otherwise, click Open Companies to match, import, or tidy up companies in Settings. If you have no companies yet, the panel says No companies yet and offers the same link. In the embedded task, use Import on a row to bring in one company, or Import companies to import several at once. Review the dialog before you confirm. Match a record instead when the company already exists in MSPortal. See Import companies.Import or match users
After you import or match at least one company, open the PSA’s Import or match users task to bring in its contacts. Other companies can wait, and you can return later to import more users.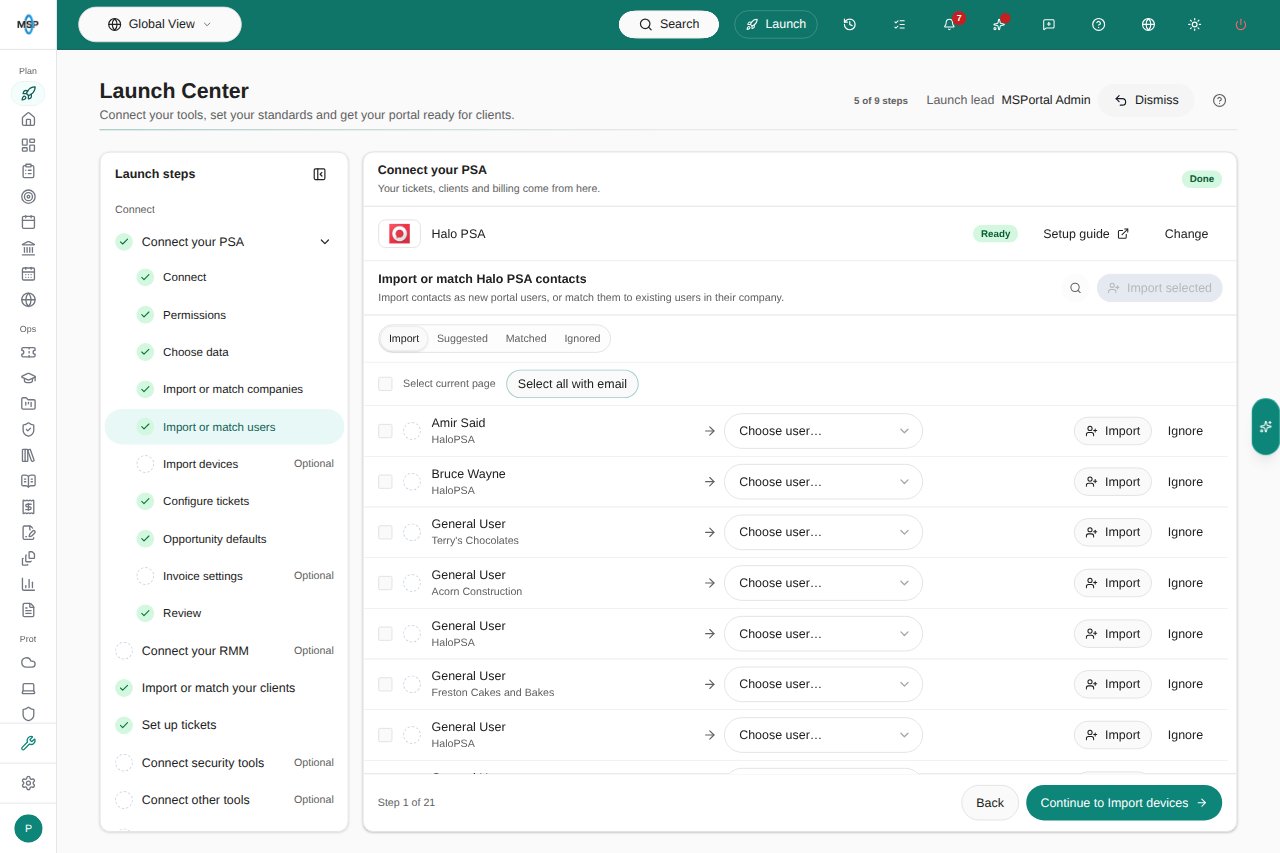
Halo PSA contact import inside Launch Center on MSPortal Demo.
Select contacts
Import them
Set up tickets
Set up tickets has three tabs.- Statuses: choose which PSA statuses close and resolve a ticket.
- Delivery: choose how new tickets reach you.
- Display groups: choose which tickets clients can see. This tab asks you to choose your PSA on the Delivery tab first.
Connect security tools and other tools
Choose every tool you use
Set each one up
Continue
Continue with MCP
After connecting your integrations, open Continue with MCP. This optional step gives your AI assistant the connection instructions and a setup brief.Connect your assistant
Copy the setup script
Sign in and approve access
Describe your preferences
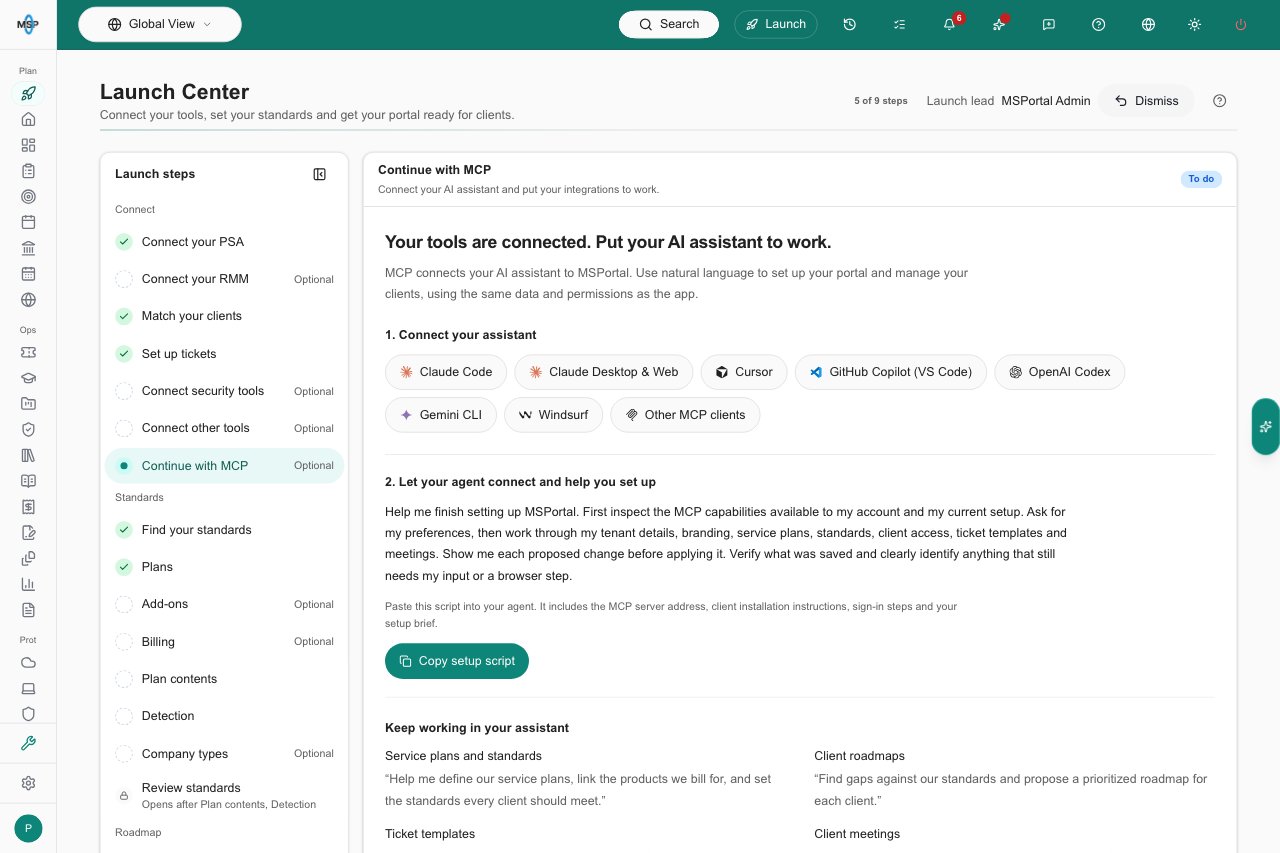
Continue with MCP inside Launch Center.
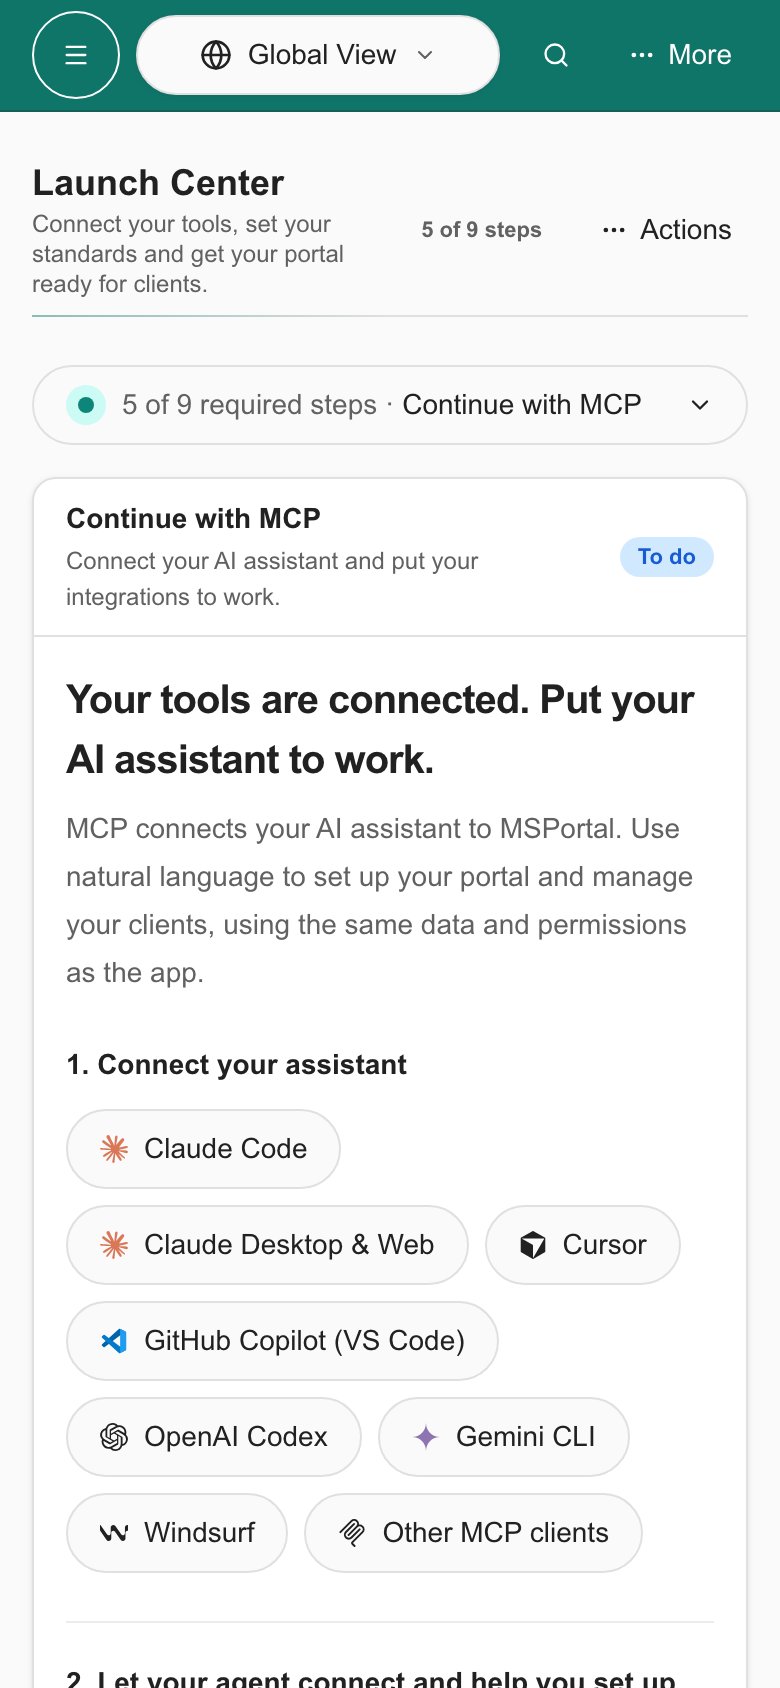
The same workspace on a phone.
Set your standards
The Standards phase defines what every client should have and how MSPortal checks it. Each step uses the guided Standards setup, so the controls match the Standards settings.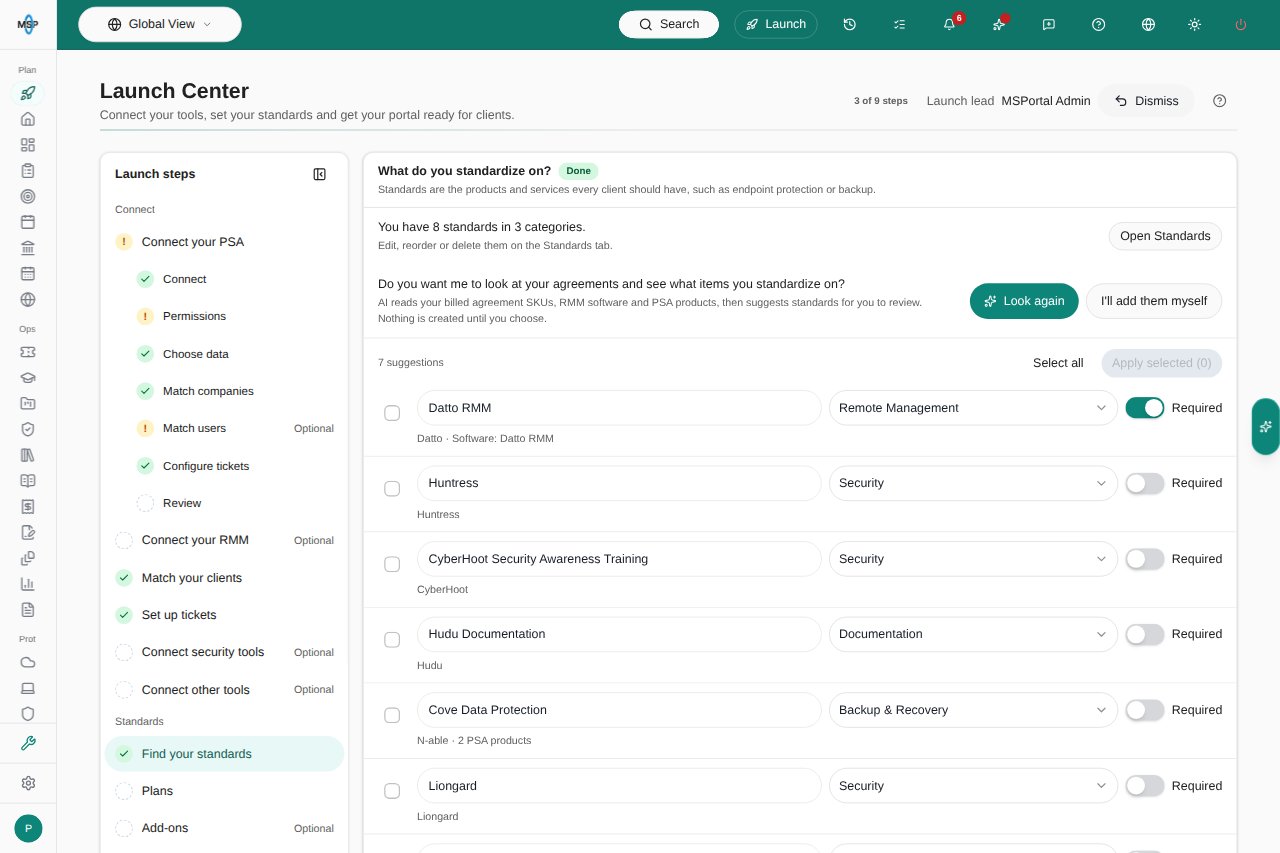
Find your standards inside Launch Center on MSPortal Demo.
Plan the roadmap
Plan the roadmap brings roadmap items in and adds the standards each client is missing. It is optional.Ask the roadmap assistant
Review each proposal
Click Mark done
Set up your portal
The Portal setup phase has four optional steps. The first three edit your settings in place. The fourth is a checklist that links to the larger settings areas.Organization and support
Confirm your organization
Set what clients see
https://example.com. Clear a field to remove its stored value.Click Continue
Brand your portal
Open the editor
Work through the tabs
Confirm the step
Staff and access
Review your staff
Invite a teammate
Manage users and roles
Confirm the step
Portal checklist
Portal checklist is one page that lists the remaining settings for clients. Each row has a tick box, a short description, a status line, a Setup guide link, and an Open settings link that opens the settings page in a new tab. The header shows your progress, for example 4 of 9 done.Open an item
Check the status line
Tick what you finished
Click Confirm and continue
Check your progress
- The header shows 3 of 9 steps, which counts the required steps that are done or skipped.
- The header shows Complete once the launch is finished, and Needs attention when a required step that used to pass now fails.
- The rail shows each step’s status. Open any step marked Needs attention and fix the connection or setting behind it.
- The Finish launch step lists every required step that is still open, with the reason it is waiting.
Review the client experience
The separate Review the client experience step with its Inspect preview is gone. Review the client side from the Portal checklist instead.Open the item
Check a client user
Exit impersonation
Tick the item
Complete the launch
Open Finish launch
Finish the open steps
Click Finish launch
- Desktop
- Phone
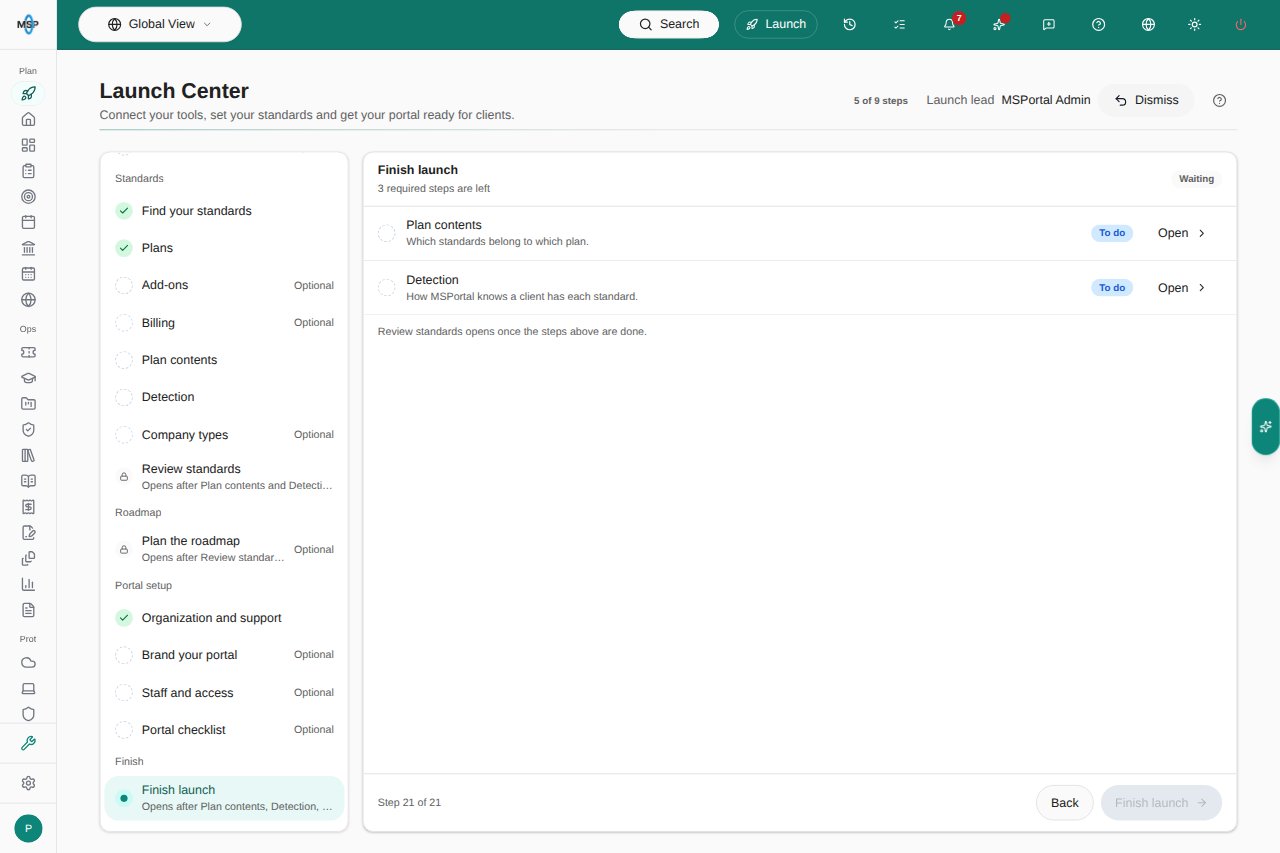
Finish launch lists the required steps that are left.
- The Launch pill and sidebar entry disappear.
- Launch Center shows Your portal is launched with the date, four figures (Required steps done, Connections ready, Standards, Roadmap items), and the five parts of setup.
- Launch Center rechecks the required steps every night (04:20 UTC). If one fails later, for example an integration disconnects, the status becomes Needs attention. The Launch pill returns with an amber dot, Launch Center shows the failing step, and the launch lead receives a notification titled Your portal launch needs attention. It returns to Complete once the required steps pass again.
Change the launch lead
Find the control
Choose a person
Confirm the result
Dismiss Launch Center for everyone
Open the confirmation
Confirm
Troubleshooting
Frequently asked questions
Is Launch Center the client onboarding portal?
Is Launch Center the client onboarding portal?
Do I have to set up the roadmap or portal steps before launching?
Do I have to set up the roadmap or portal steps before launching?
Does Do this later save my edits?
Does Do this later save my edits?
Does a passing step prove every client can use the portal?
Does a passing step prove every client can use the portal?
Will completing launch email or invite my clients?
Will completing launch email or invite my clients?
Does removing Launch Center disconnect my integrations?
Does removing Launch Center disconnect my integrations?
Can someone with read access change anything?
Can someone with read access change anything?