

Accessing Tenant Settings
- Click Settings in the sidebar
- Select Tenant from the settings navigation
Save behavior
Use the header Save Settings for the main form, including Details, AI and custom-domain login-method choices. Wait for the saved result before leaving. Header Reset restores the form’s saved baseline; it is not a saved undo of earlier changes. Logo uploads, Save color, location changes, custom-domain actions and Save sign-in page are separate persisted operations. Inspect the result of the action you used; the header cannot discard an upload or domain change that already succeeded.Tenant Details
Basic organization information:Locations and preferences
Review Locations on Details. Create or edit a location in its own dialog, save it there and check the resulting record. Setting a primary location and deleting a location use their own actions; check the target location and any confirmation. These changes are separate from the header form save. Review the timezone, language/locale and currency preferences offered in Details. Save form changes with Save Settings. The data-residency card reports stored-data and application-serving regions; it does not move the tenant’s data or offer a region-change control.Tenant Security Settings
Restrict to Assigned Companies
When enabled:- Users only see data for companies they’re explicitly assigned to
- Improves data isolation between teams
- Requires company assignments in user management
AI Settings
The AI tab controls AI-powered features for your organization. Two independent switches let you decide who gets AI: everyone, only your internal team, or no one.AI Features (Master Switch)
The Enable all AI-powered features switch turns AI on or off for your entire organization. When disabled, users cannot generate new AI content. Review the affected AI controls and workflows after saving. This switch is not a record-deletion operation or evidence that every already-running background task has stopped.Client-facing AI
The Enable AI features for client users switch controls whether your client (company) users get AI-powered features. When disabled, client users see a non-AI experience while your internal team can continue using AI.Customize the AI Home welcome screen
Use Settings > Tenant > AI > Home page to set the background, greeting, and quick-action blocks shown on AI Home. You need permission to manage Tenant Settings to edit these controls. To see the result on Home, AI features and AI-Powered Home Page must be enabled for the viewer. For a company user, AI Home must also be enabled for that company.Open Home page settings
Upload a background image
Personalize the welcome text
{greeting}, {name}, {tenantName}, or {portalName}. For example, use {greeting} for the label, {name} for the headline, and How can we help today? for the subheadline. Empty fields use the standard welcome text.Set the shortcut blocks
Open a support ticket and set its prompt to I want to open a support request. You can add up to four blocks; custom blocks replace the default quick actions.Save and check Home
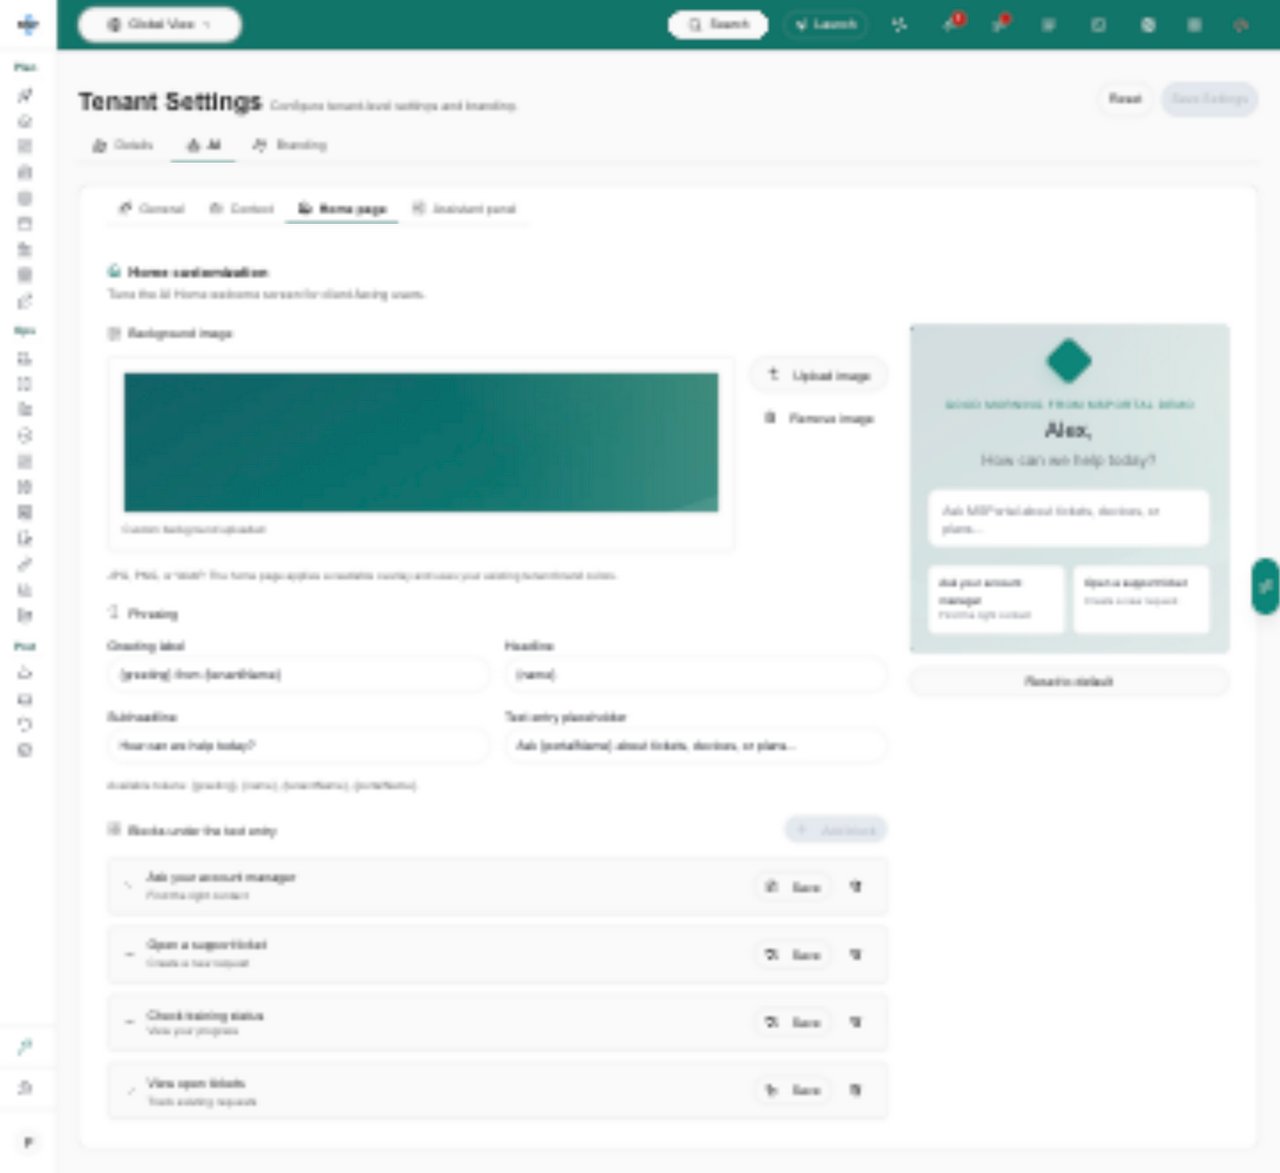
Example AI Home settings with a background, personalized welcome, and shortcut blocks.
Custom Domains
Configure custom domains to access MSPortal with your own branding. Custom domains are managed in the Domains card on the Branding tab.Adding a Custom Domain
Enter Domain
portal.yourcompany.com)Copy CNAME Target
Update DNS
Verify Domain
Set Primary
Domain Status
Sign-In Methods for Custom Domains
Choose which sign-in options appear on the sign-in page of your custom domains. The Custom domain login methods section sits below the domain list in the Domains card, with a checkbox for each method:- Sign in with Microsoft
- Sign in with Google
- Send Magic Link (email sign-in link)
Enhanced Branding
Customize your organization’s branding: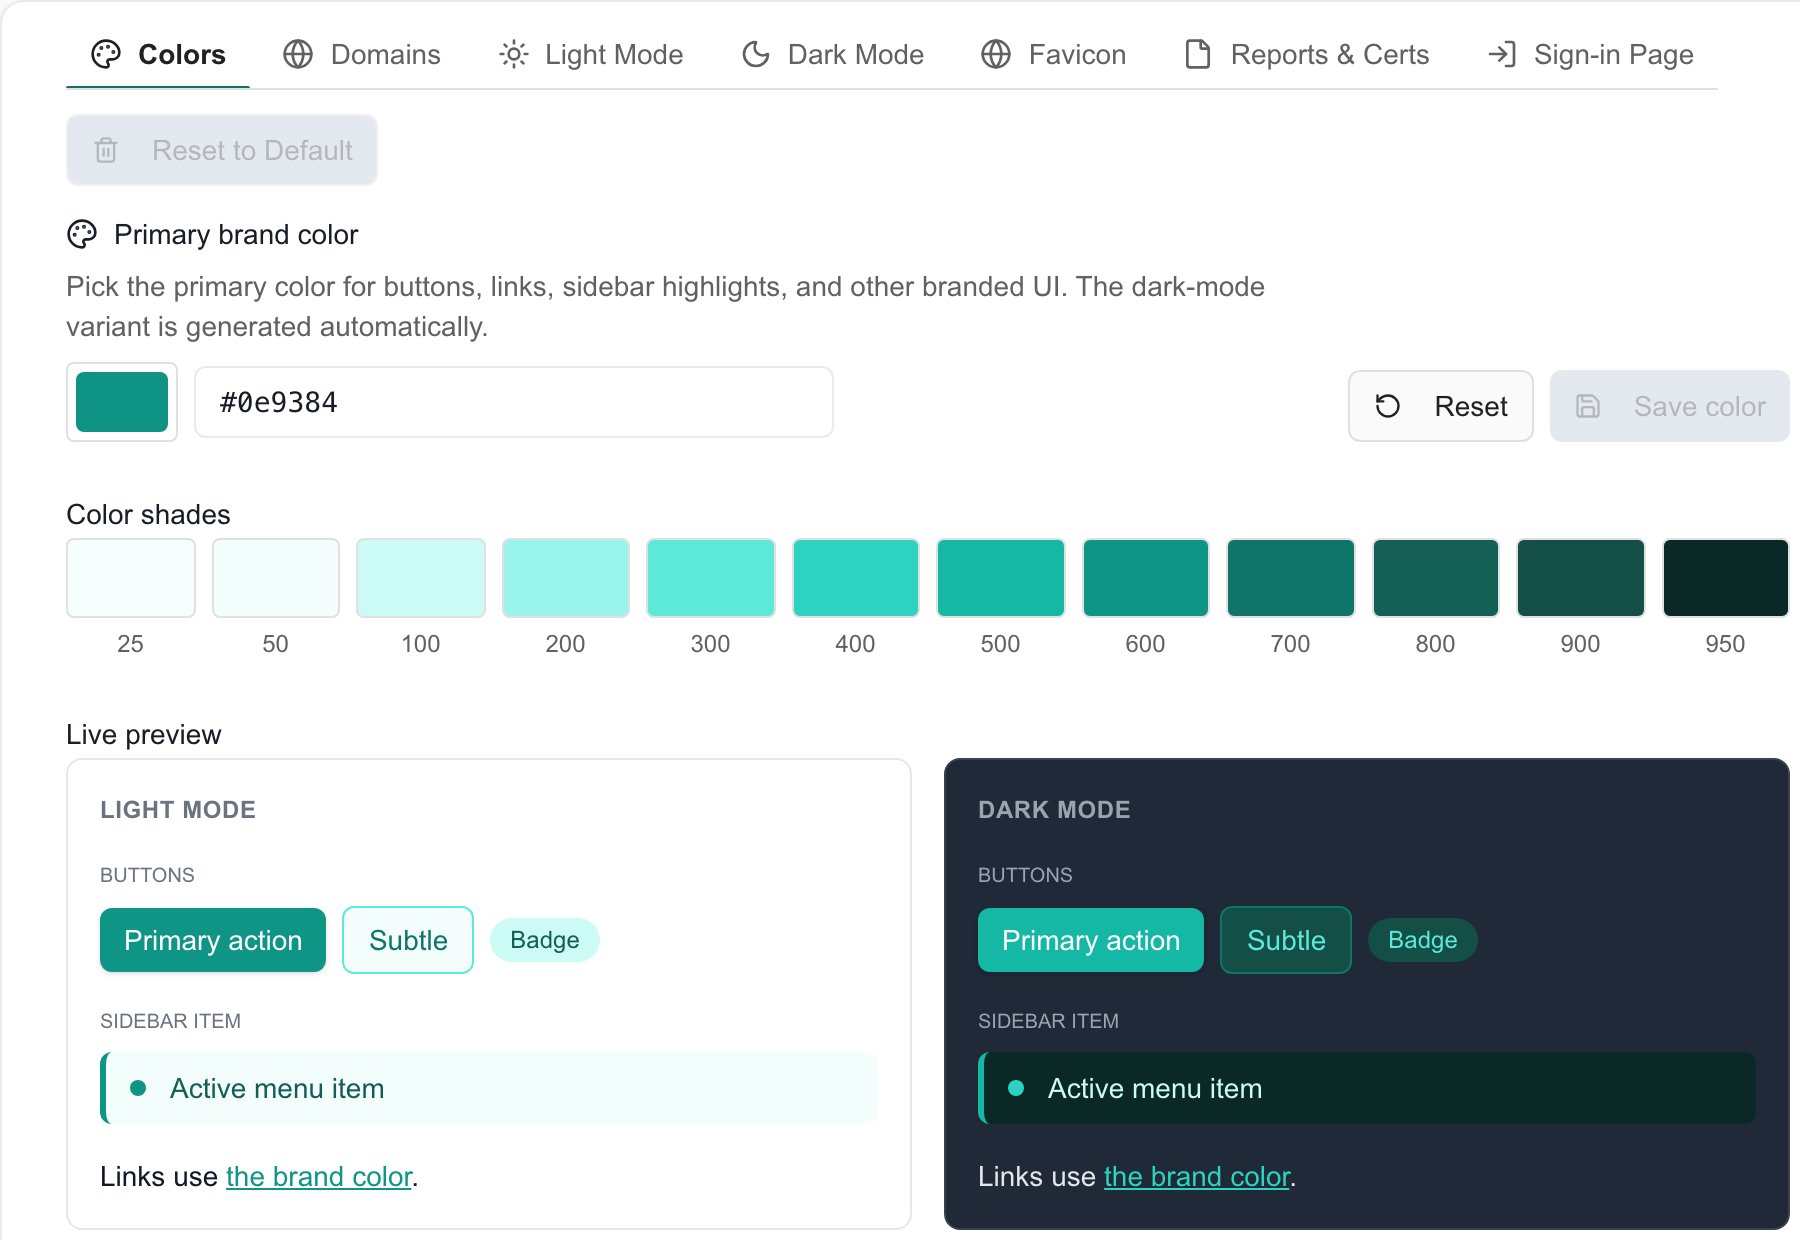
Current Tenant Branding controls with separate Save color and built-in light/dark previews.
Brand Color
Set your primary brand color, used for buttons, links, sidebar highlights, and other branded UI across the app.Open the Colors Section
Pick Your Color
#0e9 and full six-digit hex such as #7c3aed are both accepted.Preview in Light and Dark Mode
Save
- Primary buttons and call-to-action buttons
- Links and link hover states
- Sidebar active item highlights
- Focus rings and selection highlights
- Chart primary color
- Status badges that use the brand scale
Client Onboarding Portal Branding
Your brand color automatically applies to the public client onboarding portal as well. When a client opens their onboarding link, the portal uses your tenant’s colors and logo so it feels like part of your brand, not a generic page. No separate configuration is needed.Logo Options
Custom Sign-In Page
Use the Sign-In Page section to customize the first page clients see when they visit one of your custom domains. These settings do not change the sign-in page on MSPortal-owned domains.Prerequisites
- An active custom domain
- Access to manage Tenant Settings or Launch Center settings
- A primary light logo uploaded under Branding > Light if you want your logo on the sign-in card
Open Sign-In Page settings
Set the logo size
Choose a background
Choose the card style
Write the welcome message
Preview and save
Background image requirements
When adding your own sign-in background, use these specifications:- Choose an image with a simple background so the sign-in card is easy to read.
- Avoid text or important details in the image: the card covers the center, and the edges may be cropped. Use your separately uploaded tenant logo for branding on the card.
- Adjust Photo darkening if the background is too bright.
- After clicking Save sign-in page, check your custom domain in a signed-out or private browser window on both a desktop and a phone.
Sign-In Page Troubleshooting
Upload and crop
Use the format and size limits shown by the selected upload control. For logos, confirm the crop and wait for the upload result; closing the cropper is not a save. Favicon and reporting-logo uploads have their own behavior. Review light and dark variants separately.Best Practices
- Complete all branding - Upload all logo variants for consistent appearance
- Test custom domains - Verify domains work before sharing with users
- Document settings - Record configuration for disaster recovery
- Review periodically - Update branding when company details change
FAQs
Does header Reset undo saved uploads or domain changes?
Does header Reset undo saved uploads or domain changes?
Does uploading a sign-in background apply the sign-in design?
Does uploading a sign-in background apply the sign-in design?
Can I move tenant data using the residency card?
Can I move tenant data using the residency card?
Where do I save custom-domain login methods?
Where do I save custom-domain login methods?
Is brand-color Reset the same as header Reset?
Is brand-color Reset the same as header Reset?
Related Resources
- Billing Settings - Subscription management
- Users & Roles - User permissions
- Settings Overview - All settings options