

Before you start
- You need role-management access to create or edit a group. You need write access to Company users to assign one.
- Company access groups are called Company Roles on the Roles tab. In the Company user editor they appear as Permissions Group.
- Decide what each kind of client user needs, for example a viewer who opens tickets, or a client lead who sees reports.
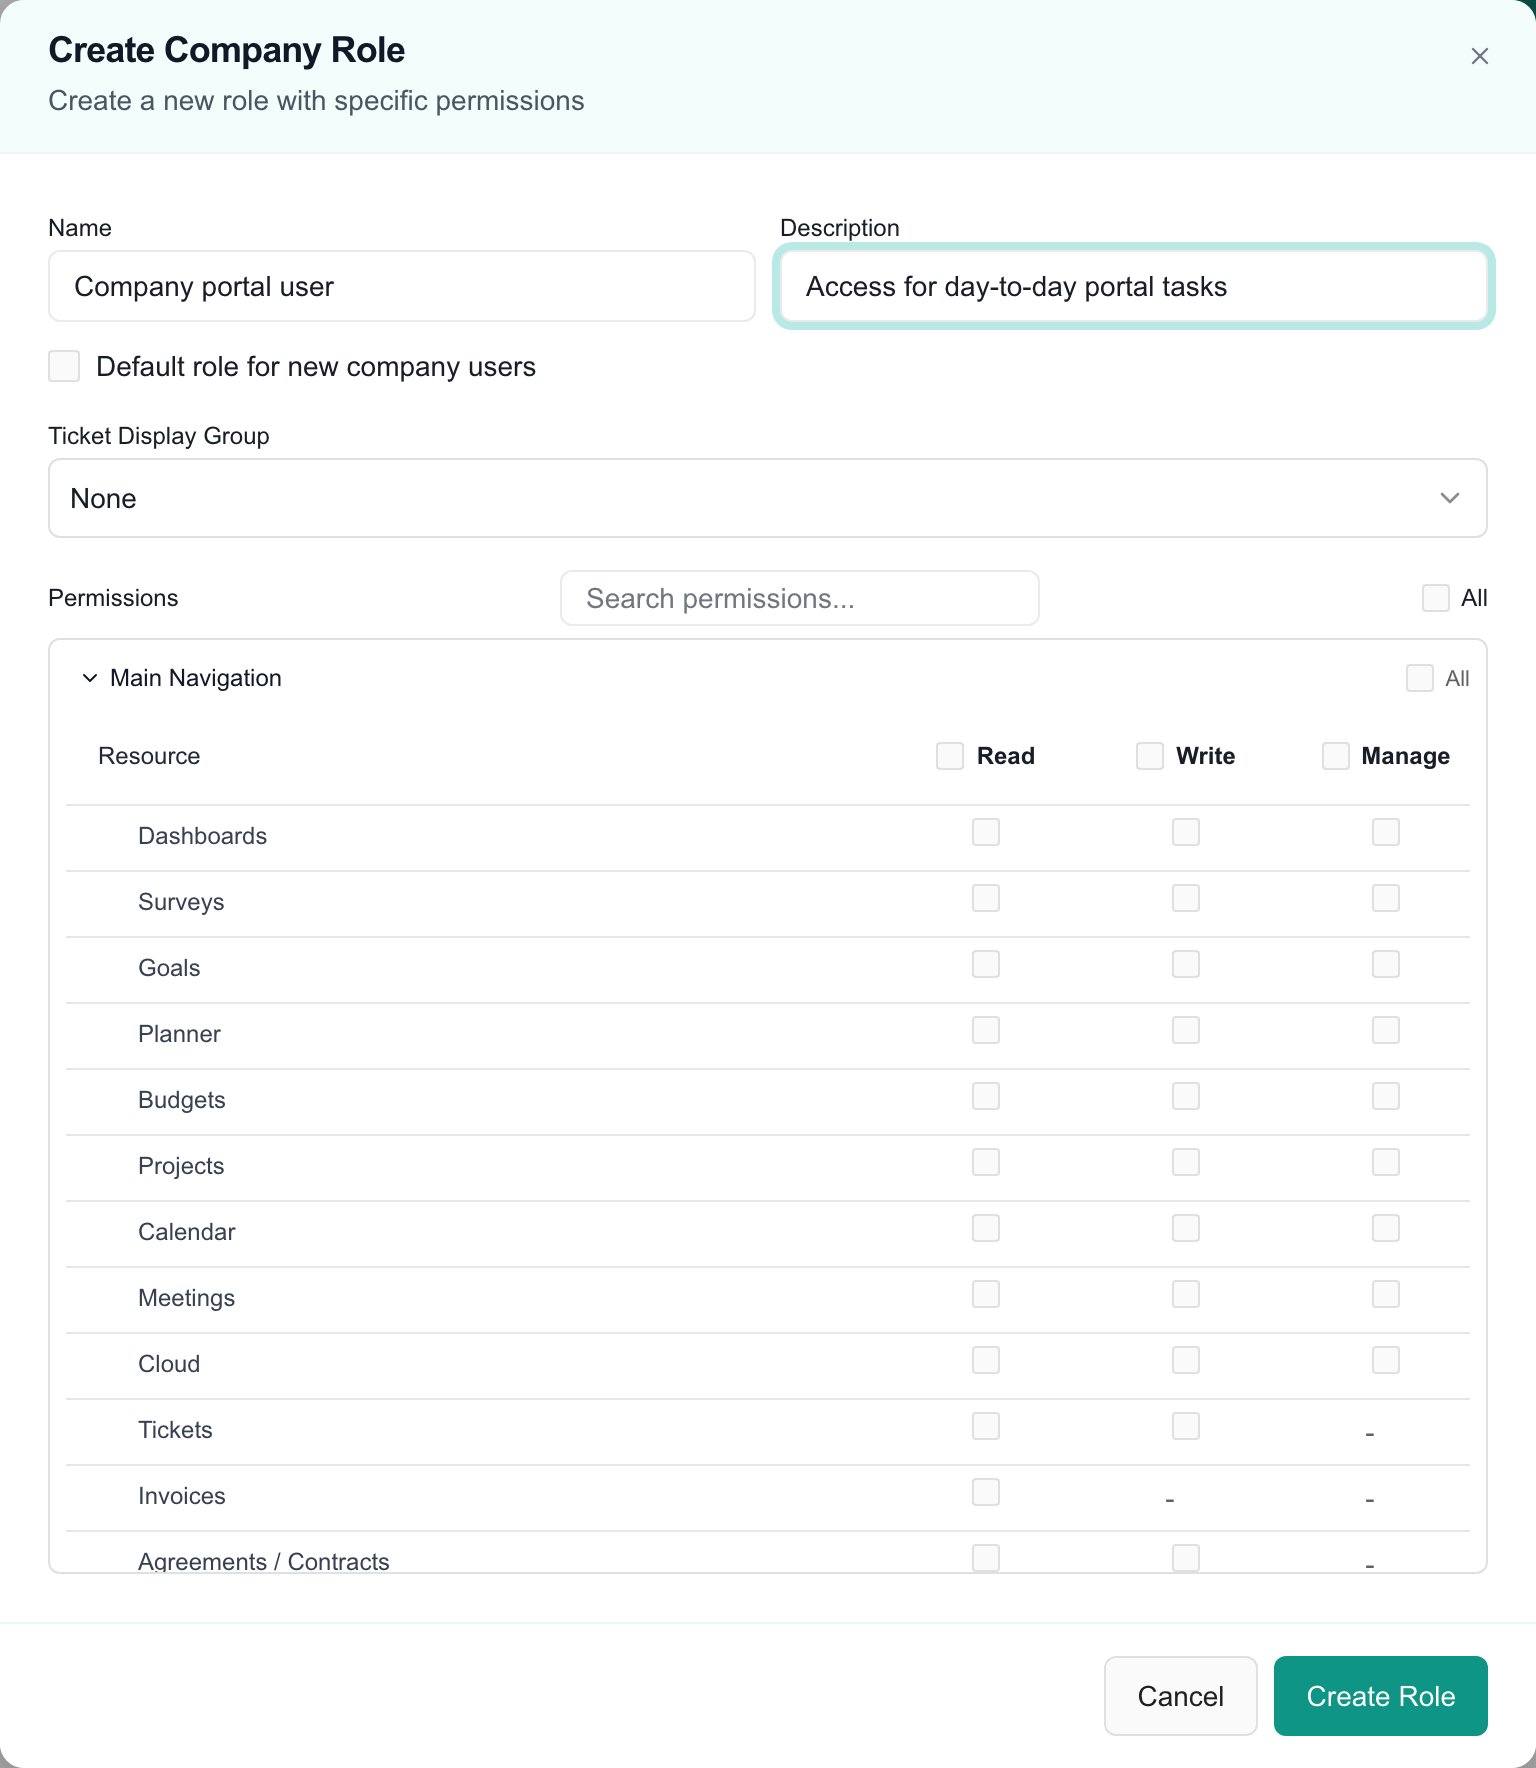
Example unsaved Company role editor. Review permissions before you save and assign the role.
Create a Company access group
1
Open the Roles tab
Go to Settings > Users & Roles and open Roles.
2
Look at the existing groups
In Company Roles, check whether an existing group fits. Presets include Viewer, Finance, and Company Admin. To start from one, open its row menu and click Duplicate.
3
Add a role
Click Add Role in Company Roles. Enter a Name and Description.
4
Set the permissions
Set Read, Write, or Manage for each resource. Use Search permissions… to find one. Check each module the client should see, and leave the rest off.
5
Pick a ticket display group (optional)
If you have ticket display groups, choose one in Ticket Display Group to control which tickets these users see.
6
Save
Click Create Role. Use Update Role for later edits.
Assign the group to client users
1
Open Company Users
Go to Settings > Users & Roles and open Company Users. Use the company selector and filters to find the person.
2
Open the user
Click the user’s name. The Edit Company User dialog opens.
3
Choose the group
Under Permissions, open Permissions Group and pick the group.
4
Save
Click Save Changes. The Permissions Group column shows the new group.
Check what clients can see
1
Test as a client
Use your approved client-review or impersonation process and sign in as a user with the new group.
2
Open the key pages
Open the pages the client needs and check the data. A visible menu item does not prove the user can read every record behind it.
3
Check Launch Center
In Launch Center, open Live verification and check the client-user finding for every rollout company.
Troubleshooting
Frequently asked questions
Where do I manage Company permission groups?
Where do I manage Company permission groups?
In Settings > Users & Roles > Roles, under Company Roles.
Are Team Roles the same as access groups?
Are Team Roles the same as access groups?
No. Team Roles assign MSP staff responsibilities and grant no client permissions.