

Import a CSV
- Select the intended data type. Current import options include companies, locations, devices, compliance checks/results, Planner items, goals and Company Roles.
- Download that type’s CSV template and use its current columns. Preserve identifiers and required relationships according to that template.
- Prepare a small, reviewed file before a larger import. Select the CSV or drop it into the upload area.
- Choose the mode: create, update or both. Confirm the type and mode again before starting the import.
- Run the displayed import action and read the complete result. Check the resulting records before retrying rows or importing a larger file.
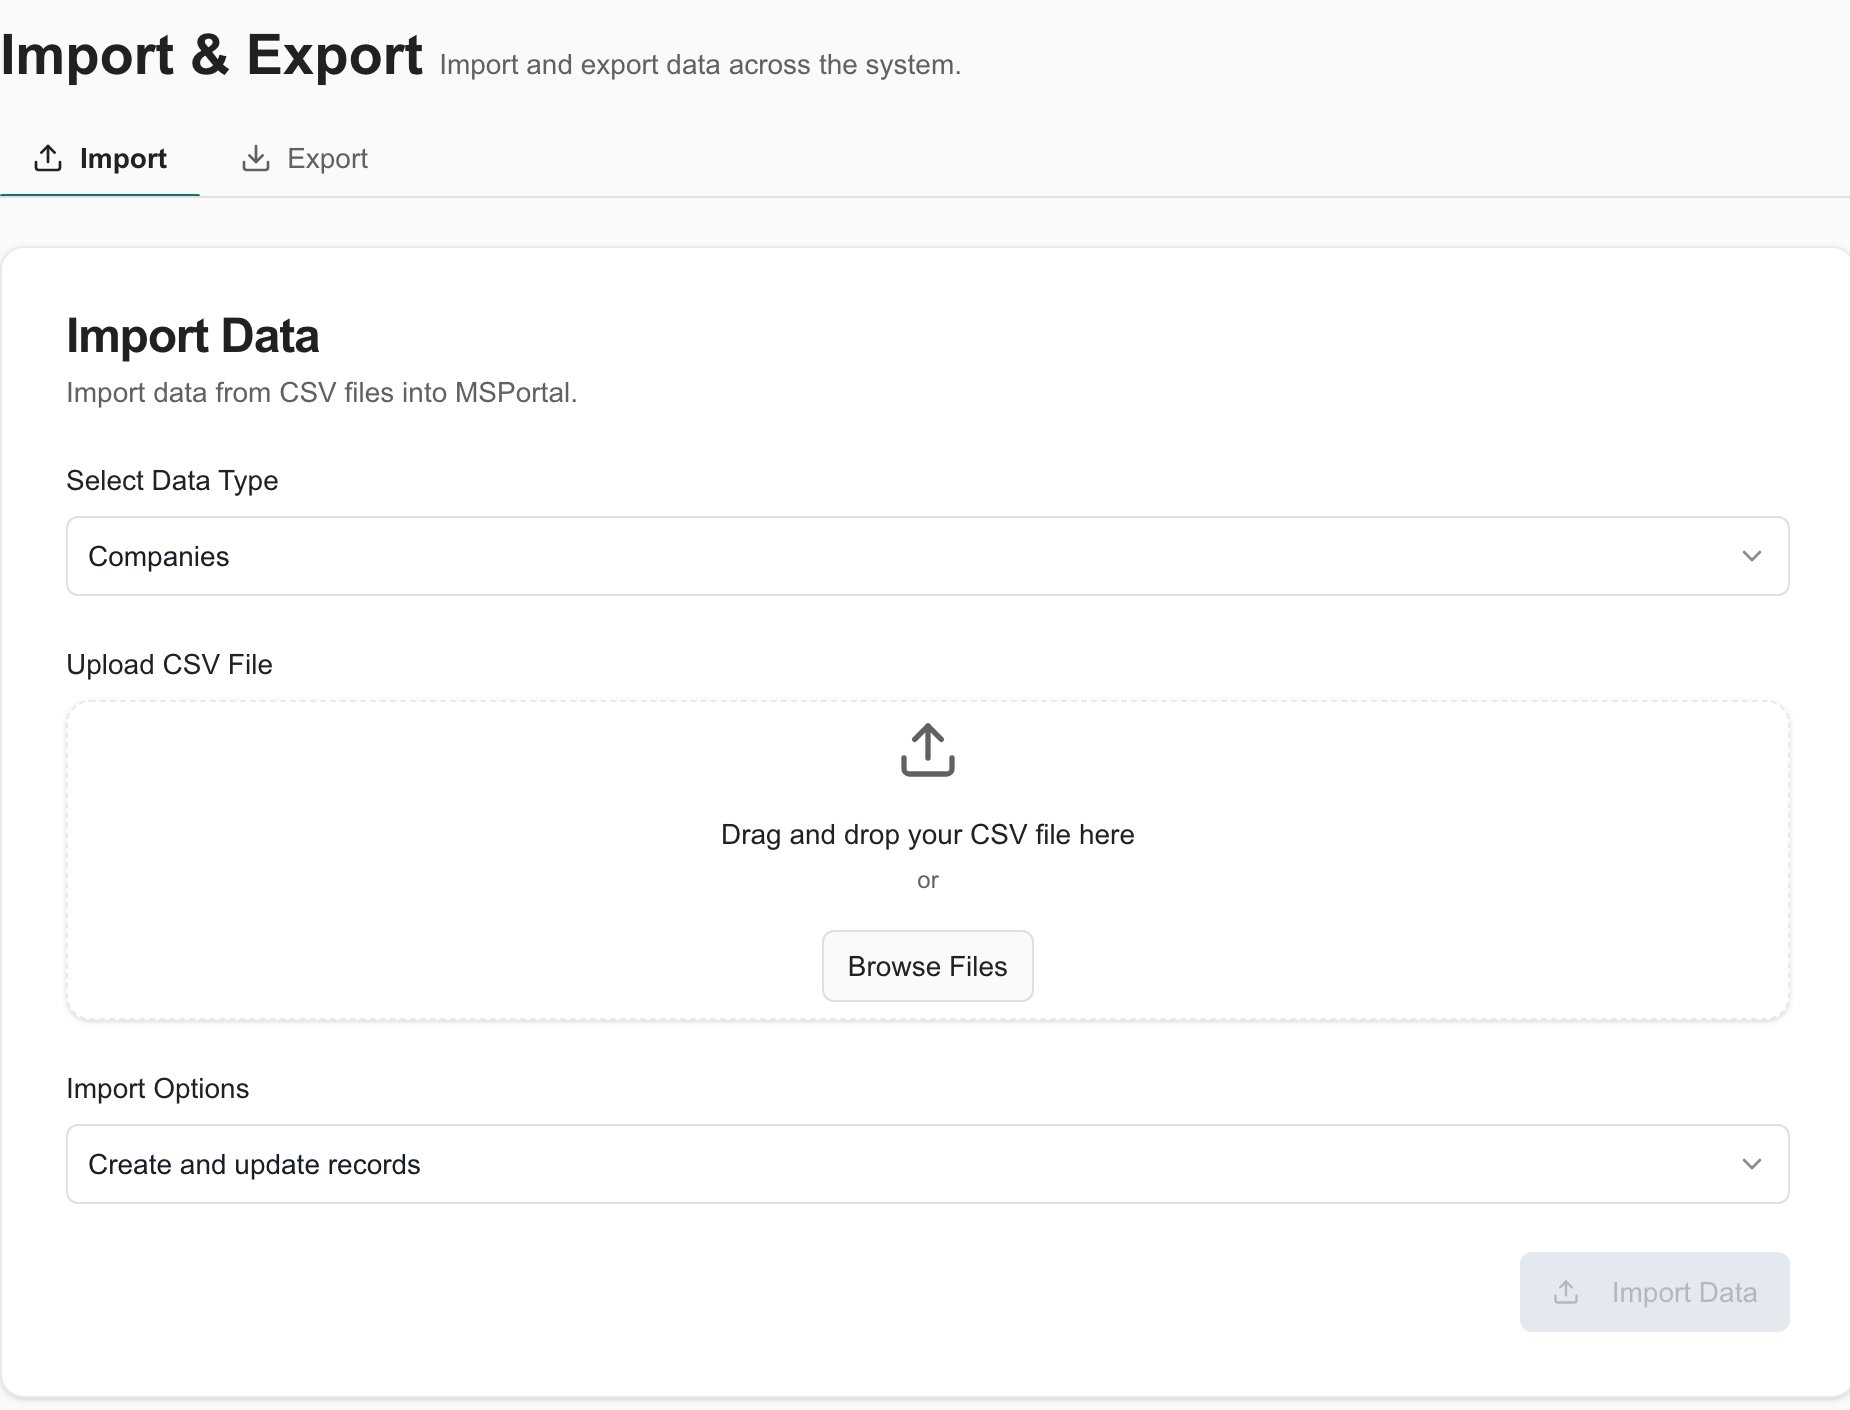
Choose the data type, CSV file and import mode before running Import Data.
Export one data type
Choose the data type and company scope, then start the CSV export. The download is a snapshot of that export’s supported fields. Company-scoped types use the selected company; tenant-level types do not. Compliance checks, Company Roles, custom fields and broadcasts are tenant-level exports and remain organization-wide even when you select one company. Their filenames use all for that reason. Check file contents and scope before sharing a download.Export All
Export All builds a ZIP of supported CSV exports. Some types can fail while others succeed: inspect the result and missing-type list instead of assuming a downloaded ZIP is complete. If every type fails, there is no successful combined export to rely on. Export-only data can include contacts, meetings and their content, budgets and products, survey responses, training, tool stack, goal updates, onboarding tasks and AI conversations. Not every exported type supports import. The ZIP is not a complete database backup or a one-click restoration package, and it does not promise to include all external PSA records or file attachments.Troubleshooting
If a CSV is rejected during selection, check that it is a CSV file recognized by the browser, rather than an Excel workbook renamed with a CSV extension. If relationships or updates fail, compare the current template and identifiers with the target records. If an export is incomplete, inspect the per-type result and available history, then retry only the missing export where appropriate.FAQs
Does selecting a CSV import it immediately?
Does selecting a CSV import it immediately?
No. Confirm the data type and mode, then run the import action.
Does the company filter constrain every export?
Does the company filter constrain every export?
No. Compliance checks, Company Roles, custom fields and broadcasts are tenant-level exports.
Does a downloaded Export All ZIP prove every export succeeded?
Does a downloaded Export All ZIP prove every export succeeded?
No. Inspect partial failures and missing data types.
Can I restore the whole portal from Export All?
Can I restore the whole portal from Export All?
No. It is a set of supported CSV exports, not a complete database backup or one-click restore.
Can every exported type be imported?
Can every exported type be imported?
No. Some supported data types are export-only.