Accessing Ticket Settings
- Click Settings in the sidebar
- Select the Tickets icon from the settings navigation
General Settings
The General tab contains core ticket configuration options.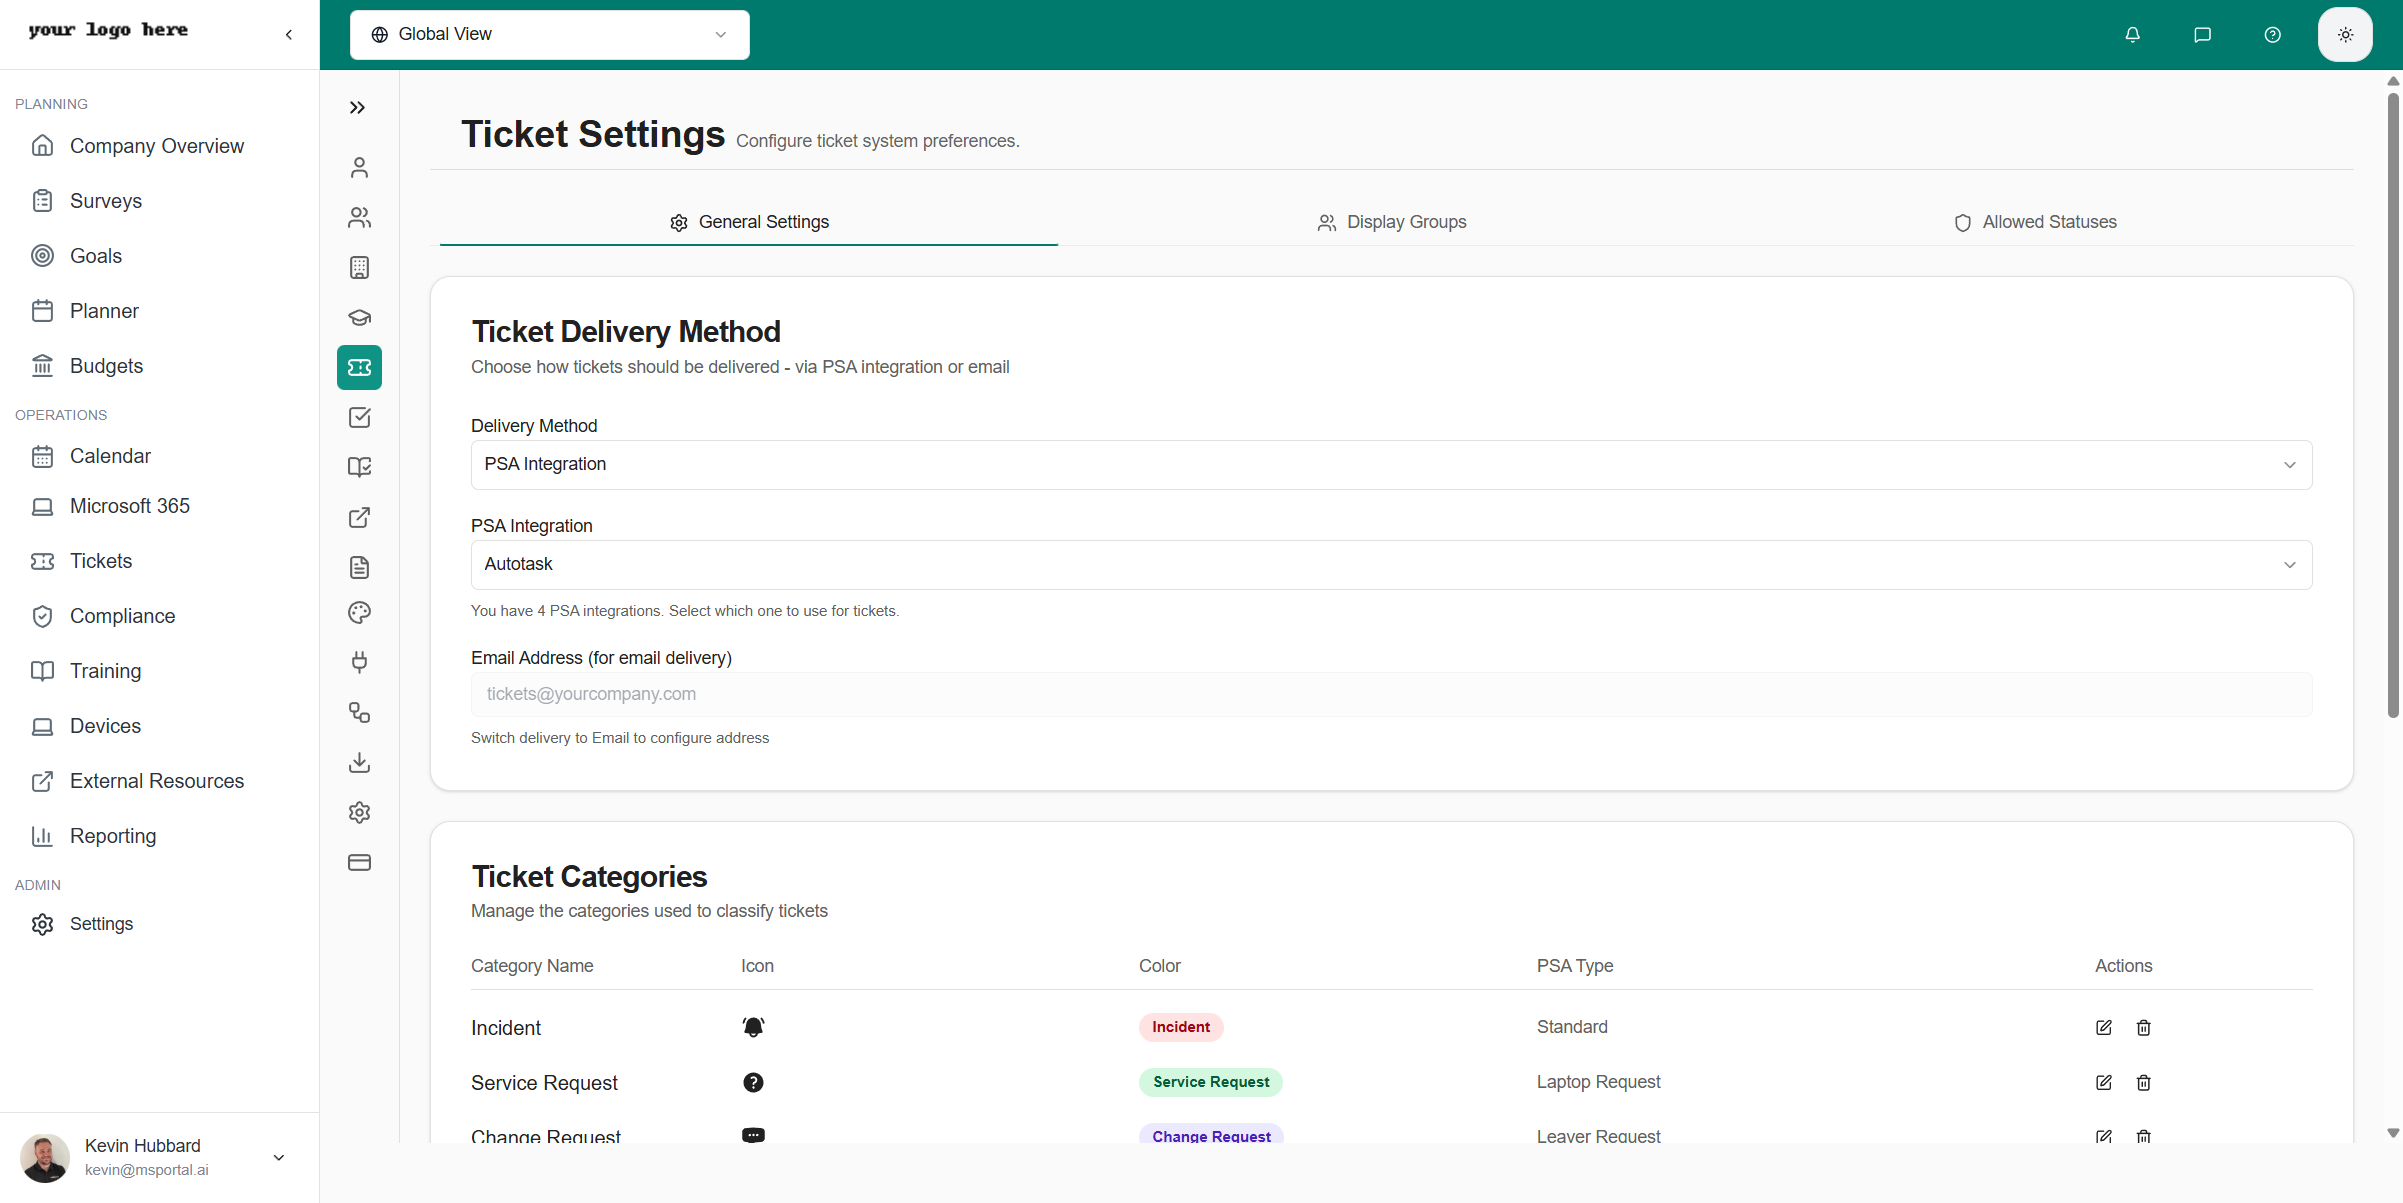
Ticket Delivery Method
Choose how tickets are delivered to end users:| Method | Description |
|---|---|
| Tickets sent via email notifications | |
| Portal | Users access tickets through the MSPortal interface |
| Both | Tickets available via email and portal |
Ticket Categories
Define categories to organize tickets by type:- Support - General technical support requests
- Service Request - New service requests and changes
- Incident - Urgent issues requiring immediate attention
- Project - Project-related tasks and milestones
Categories sync with your PSA system. Changes here will affect how tickets are categorized across both platforms.
Default Settings
Configure default values for new tickets:- Default Priority - Initial priority level for new tickets
- Default Status - Starting status when tickets are created
- Default Assignment - Auto-assignment rules
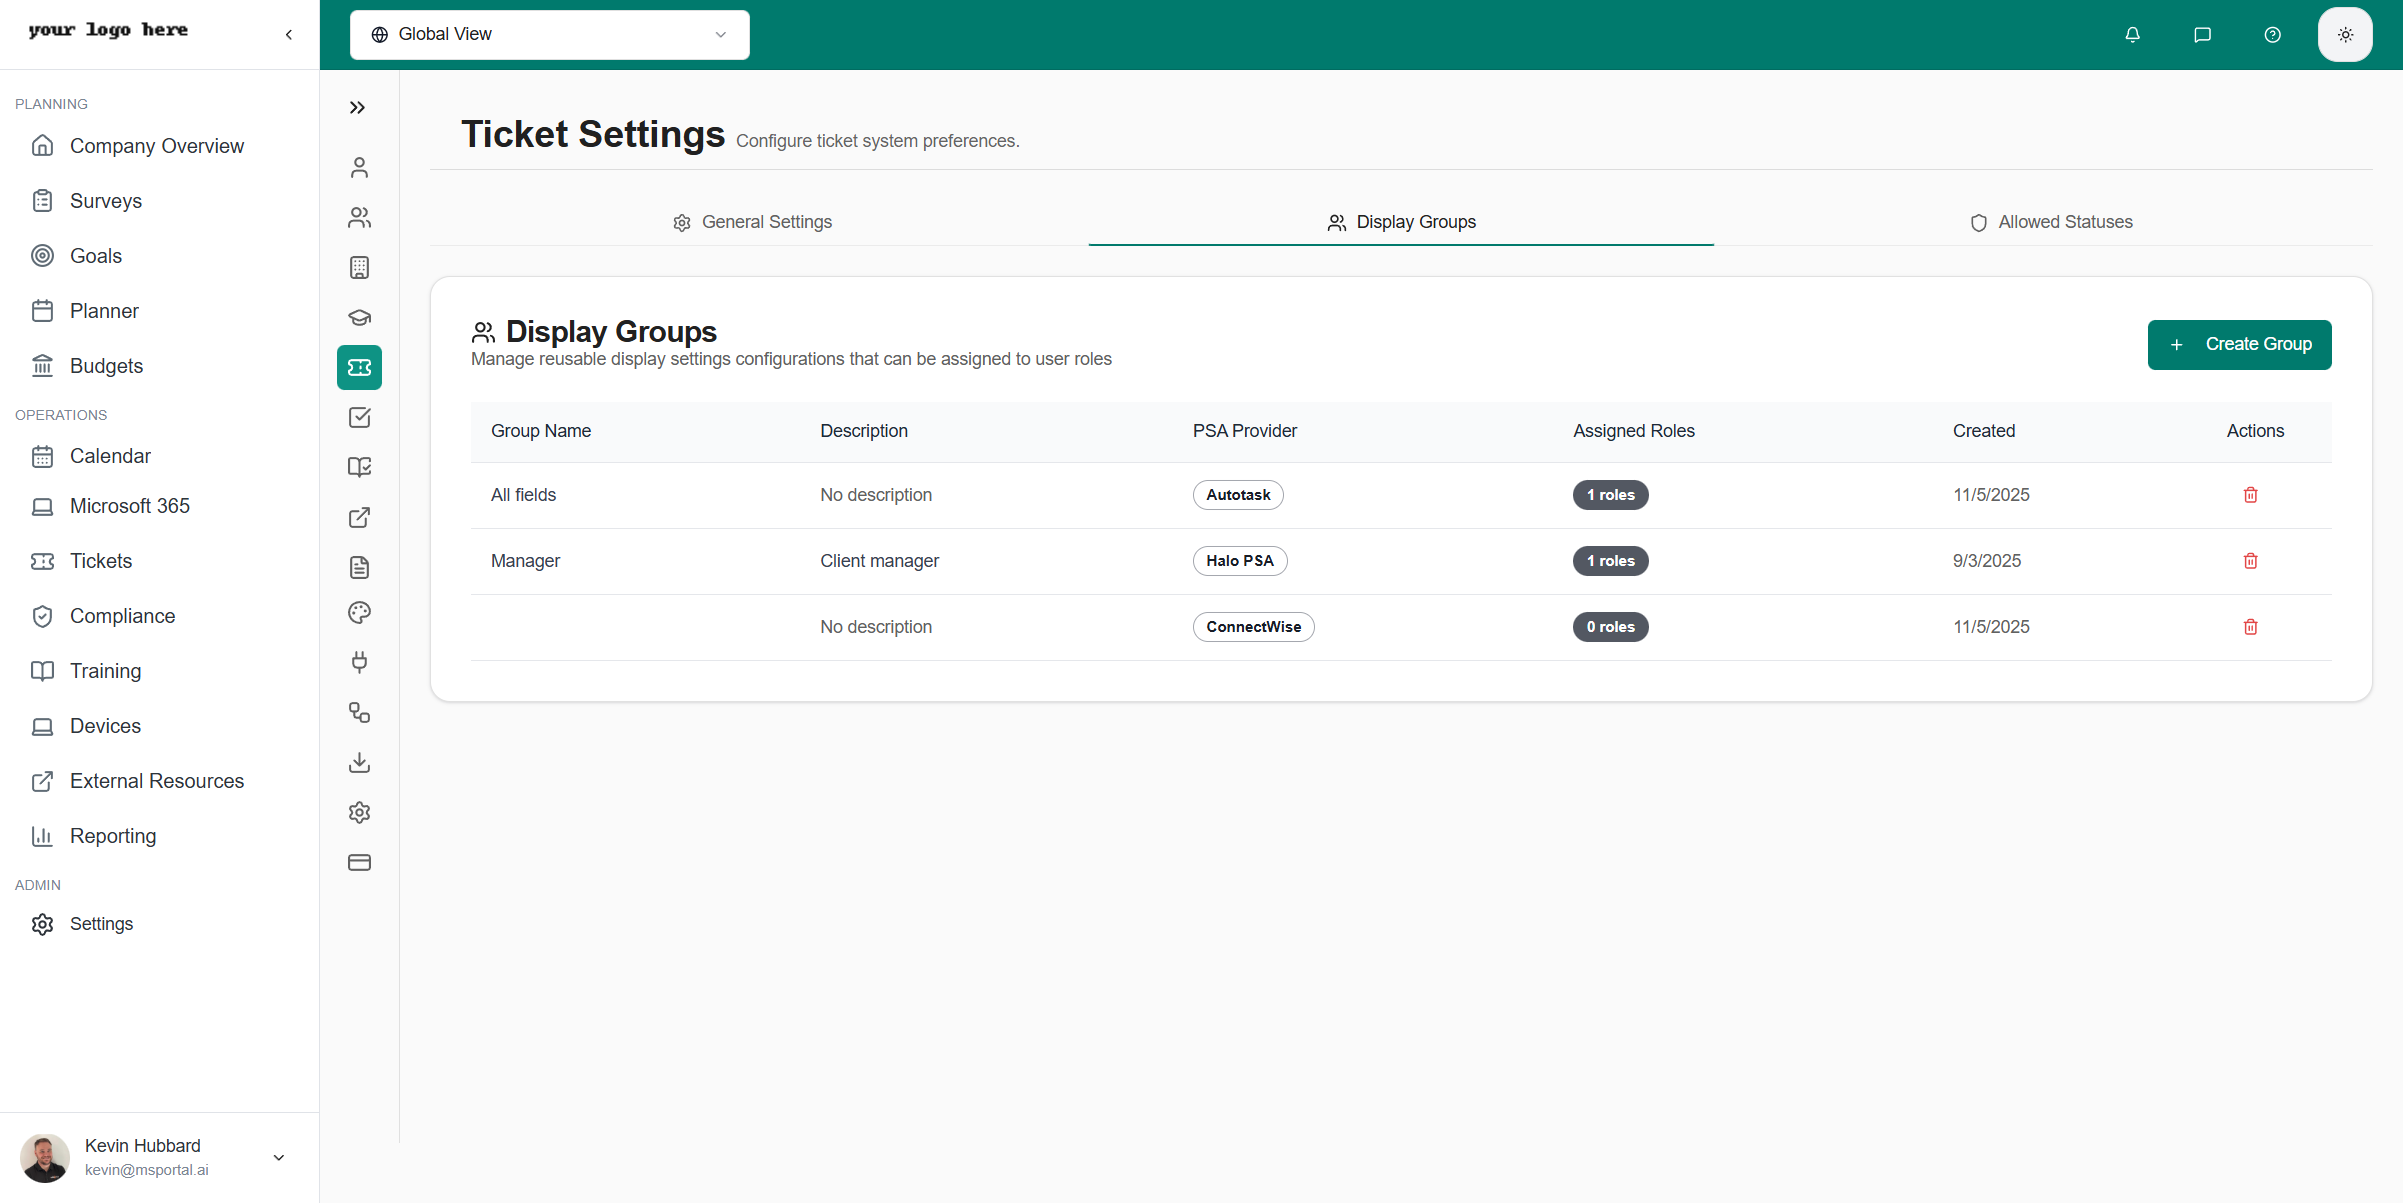
Display Groups
Display Groups are reusable display-settings configurations that you assign to user roles. A single group controls three things at once for everyone holding that role:- Ticket Visibility - which tickets the role can see (all company tickets, only their own, or only their location’s)
- Board, queue, and ticket-type scope - which PSA boards/queues are visible and which ticket types are hidden
- Field Visibility - which ticket fields (columns) appear in the tickets list
Ticket Visibility Options
When you create a Display Group, the Ticket Visibility dropdown sets the scope of tickets the assigned role can see:| Option | What the role sees |
|---|---|
| All Tickets | Every ticket for the company. Use for managers, owners, or anyone who needs full visibility. |
| Same Location Only | All tickets opened at the user’s assigned location. Use for site or branch managers. |
| Own Tickets Only | Only tickets the user opened or is the contact on. Use for standard company users who should not see their coworkers’ tickets. |
Same Location Only relies on each company user having a location assigned on their profile. If a user has no location set, they will not see location-scoped tickets. Set a user’s location from Settings → Companies → (company) → Users, or on the user’s profile.
Creating a Display Group
Name and describe the group
Enter a Name (e.g., “Standard Technician” or “Manager View”) and an optional Description explaining what the group shows and who should use it.
Choose Ticket Visibility
Set Ticket Visibility to All Tickets, Same Location Only, or Own Tickets Only based on what this role should be able to see.
Select the PSA provider
If you have more than one PSA integration connected, choose the PSA Provider this group applies to. With a single PSA, this is selected automatically.
Assign roles
Use Assigned Roles to pick one or more roles. Everyone holding an assigned role inherits this group’s visibility and field settings. A role can be assigned to one group per PSA provider.
(Optional) Narrow boards and ticket types
Use Restrict to Boards / Queues to limit the role to specific boards or queues (leave empty to allow all). Use Hide Ticket Types to keep selected ticket types out of this role’s list (leave empty to show all). New boards and types added in your PSA stay visible automatically.
Choose Field Visibility
In the Field Visibility panel, check the ticket fields (columns) that should appear for this role. Fields are grouped into sections such as Basic Information, Categories, Assets and Location, Timing and SLA, and Resolution. Use Select All Fields or a section’s All in… checkbox to toggle groups quickly.
Example: Restrict Most Users to Their Own Tickets
To let only certain company users see all company tickets while everyone else sees just their own, create two Display Groups for the same PSA provider:Create a 'Standard User' group
Set Ticket Visibility to Own Tickets Only and assign it to the role most company users hold (e.g., “Company User”).
Create a 'Company Admin' group
Set Ticket Visibility to All Tickets and assign it to the role your trusted contacts hold (e.g., “Company Admin”).
Allowed Statuses
Control which ticket statuses users can select when updating tickets. This ensures consistent status usage across your team.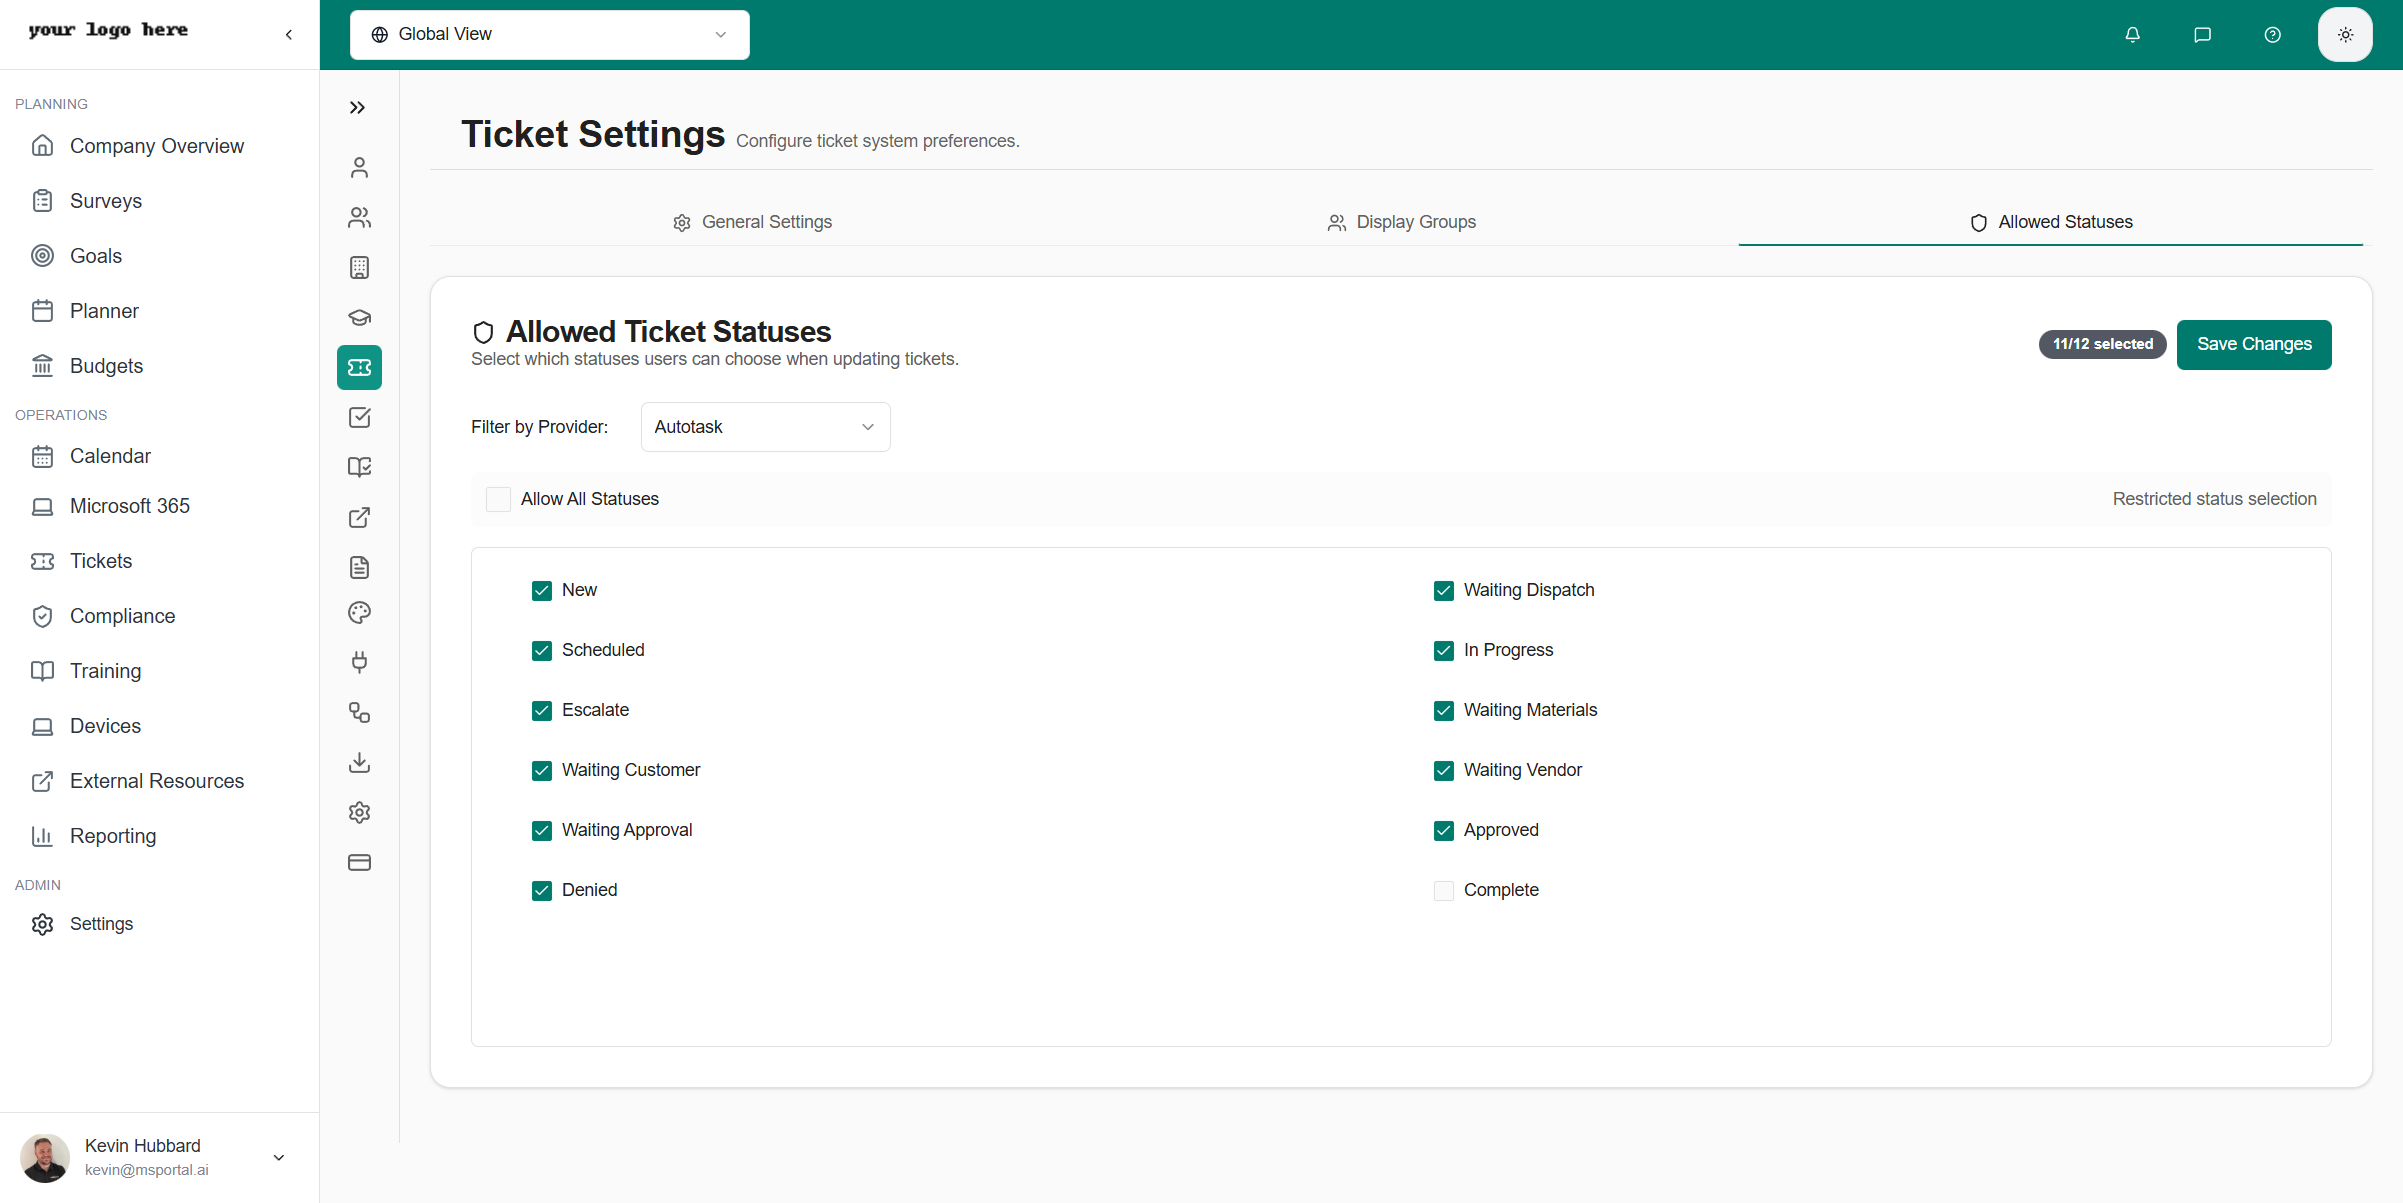
Configuring Allowed Statuses
- Review the list of available statuses from your PSA
- Check the statuses you want users to be able to select
- Uncheck statuses that should be restricted (e.g., internal-only statuses)
Status Categories
Statuses are typically organized by workflow stage:- Open Statuses - New, In Progress, Researching
- Pending Statuses - Waiting on Customer, Waiting on Vendor, Scheduled
- Resolved Statuses - Resolved, Completed, Closed
- Cancelled Statuses - Cancelled, Duplicate
Compliance Ticket Defaults
Each PSA integration’s settings tab has a Compliance Ticket Defaults card that controls which queue, priority, status, type, subtype, and category compliance-driven tickets land in. Tickets created from a compliance check (manually or by an automation rule) inherit these defaults, so compliance work no longer falls into whatever board your PSA picks at random.Open the PSA Tab
From Settings → Tickets, open the tab for your PSA (ConnectWise, Halo, Autotask, or Syncro).
Find the Compliance Ticket Defaults Card
Scroll to the Compliance Ticket Defaults card. The fields available match what your PSA exposes for tickets.
Pick the Defaults
Choose the queue or service board, priority, status, type, subtype, and category that compliance tickets should default to. Leave a field blank to fall back to the integration-wide default.
Halo Required Fields
Halo PSA requires category, impact, and urgency to create a ticket. The Compliance Ticket Defaults card on the Halo tab persists those three values alongside the others so your defaults stick across saves and the create flow does not silently fall back to Halo’s API defaults.Coverage by Provider
| Provider | Queue / Board | Priority | Status | Type | Subtype | Category | Impact | Urgency |
|---|---|---|---|---|---|---|---|---|
| ConnectWise | Service Board | Yes | Yes | Yes | Yes | - | - | - |
| Autotask | Queue | Yes | Yes | Yes | Yes | Yes | - | - |
| Halo PSA | Team / Queue | Yes | Yes | Yes | - | Yes | Yes | Yes |
| Syncro | - | Yes | Yes | Yes | - | - | - | - |
Ticket Templates
Ticket templates live under Settings → Tickets → Templates and govern the structured forms users fill out on the new-ticket page, the AI ticket assistant, and the browser extension. Each template defines fields, sections, conditional logic, PSA routing, company visibility, and (when needed) per-company branches and embedded child templates.Embedded Templates
A field of type Embedded Template pulls another template’s questions inline as a sub-card. When the parent field is visible (driven by the parent’s conditional logic), the embedded template renders inline and, on submit, fires its own separate PSA ticket using its own board, priority, status, ticket type, and category. Why use embedded templates:- One user request should spawn multiple PSA tickets with different routing (e.g. a “New Hire” parent splits into a Procurement ticket for hardware and an IT ticket for software access)
- You want to keep each child ticket scoped to a single team’s responsibilities, with its own SLA, approver, and PSA fields
- You need to capture per-child attachments (file uploads inside an embed attach to the embed’s PSA ticket)
- An embedded template cannot itself contain embedded templates (depth-1 cap, enforced in the editor and on save)
- Embeds inherit the parent’s company gating — admins do not need to enable each embed for every company the parent applies to
- Both parent and embed land in the tenant’s currently selected PSA integration
Full How-To
Learn how to add an Embedded Template field, configure its conditional, and verify the routing in the Form Preview pane.
PSA Integration Notes
Ticket settings work in conjunction with your PSA integration:- Halo PSA - Syncs ticket types, statuses, and priorities automatically
- ConnectWise - Maps to service board configurations
- Autotask - Syncs with ticket categories and queues
- Syncro - Integrates with ticket types and statuses
Some settings may be overridden by your PSA configuration. Check your integration settings if tickets aren’t displaying as expected.
Best Practices
- Start with defaults - Use standard configurations before customizing
- Test with a few users - Validate settings work before rolling out broadly
- Document changes - Keep track of display group configurations
- Sync regularly - Ensure PSA changes are reflected in MSPortal
Related Resources
- Ticketing Module - Using the tickets interface
- Integrations - PSA integration setup
- Settings Overview - All settings options