

Before you start
- Sign in with the portal address your IT provider gave you.
- Your role needs permission to create tickets. Being able to see tickets does not mean you can create them. If New Ticket is missing, ask your IT provider to check your access.
- Your IT provider must have made at least one active request template available to your company.
- You do not need access to Settings to open a ticket. Your IT provider manages templates, users, and permissions.
Start with the Home AI Assistant
1
Open Home
Click the logo at the top of the sidebar. Signing in also lands you on Home. The AI Assistant message box is on this page. You do not need to open Tickets or choose a template first.
2
Describe what you need
Type your request in the message box, then click Send message or press Enter. For example:
I need to open a support ticket. My laptop cannot connect to the office Wi-Fi this morning. I restarted it, but the error still says “Cannot connect to this network.”Say who is affected, when it started, and what you already tried. Do not include passwords or recovery codes.
3
Answer the assistant's questions
The assistant picks a request template and asks for any details it still needs. Answer its questions and correct anything it got wrong, such as a date, a person, or the type of request.
4
Check the ticket draft
The assistant shows your ticket as a draft. Click Edit form to change any answer, and Hide form to close the editor again. If a required answer is missing, the draft lists it and Review and submit stays unavailable until you fill it in.
5
Review and send the ticket
Click Review and submit. A Review change card shows the exact ticket that will be created. Click Apply change to create it, or Discard to cancel.Wait for the card to show Applied. The assistant then confirms the ticket, for example Ticket #1234 created. Nothing is sent to your IT provider until you click Apply change.
6
Follow your ticket
Open Tickets to find the request, read replies, and add notes. See Find and follow up on a ticket.
Your IT provider controls whether AI is available on Home. If you see the standard Home page instead, use the ticket form below.
Use the ticket form instead
1
Open New Ticket
Click Tickets in the sidebar, then click New Ticket at the top right. If your IT provider sent you a direct link to a request, open the link and the form is already selected.The AI Assistant panel can open first. To fill in the form yourself, click Edit form in the panel, or close the panel.
2
Choose the request type
Under Request Service, search Search services or problems… or browse the categories, then click the card that matches what you need.Some portals show a Select Template list instead of cards. Open Choose a template…, search, and pick the request.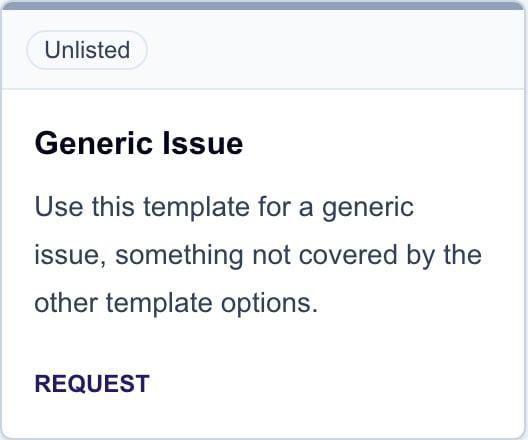
3
Enter the subject and answer the questions
Type a short Subject, such as “Unable to connect to Wi-Fi.” Some requests set the subject for you and mark it Auto-generated. You cannot edit those.Answer the required questions. Say what happened, when it started, who is affected, the exact error message, and what you already tried. Do not include passwords or recovery codes.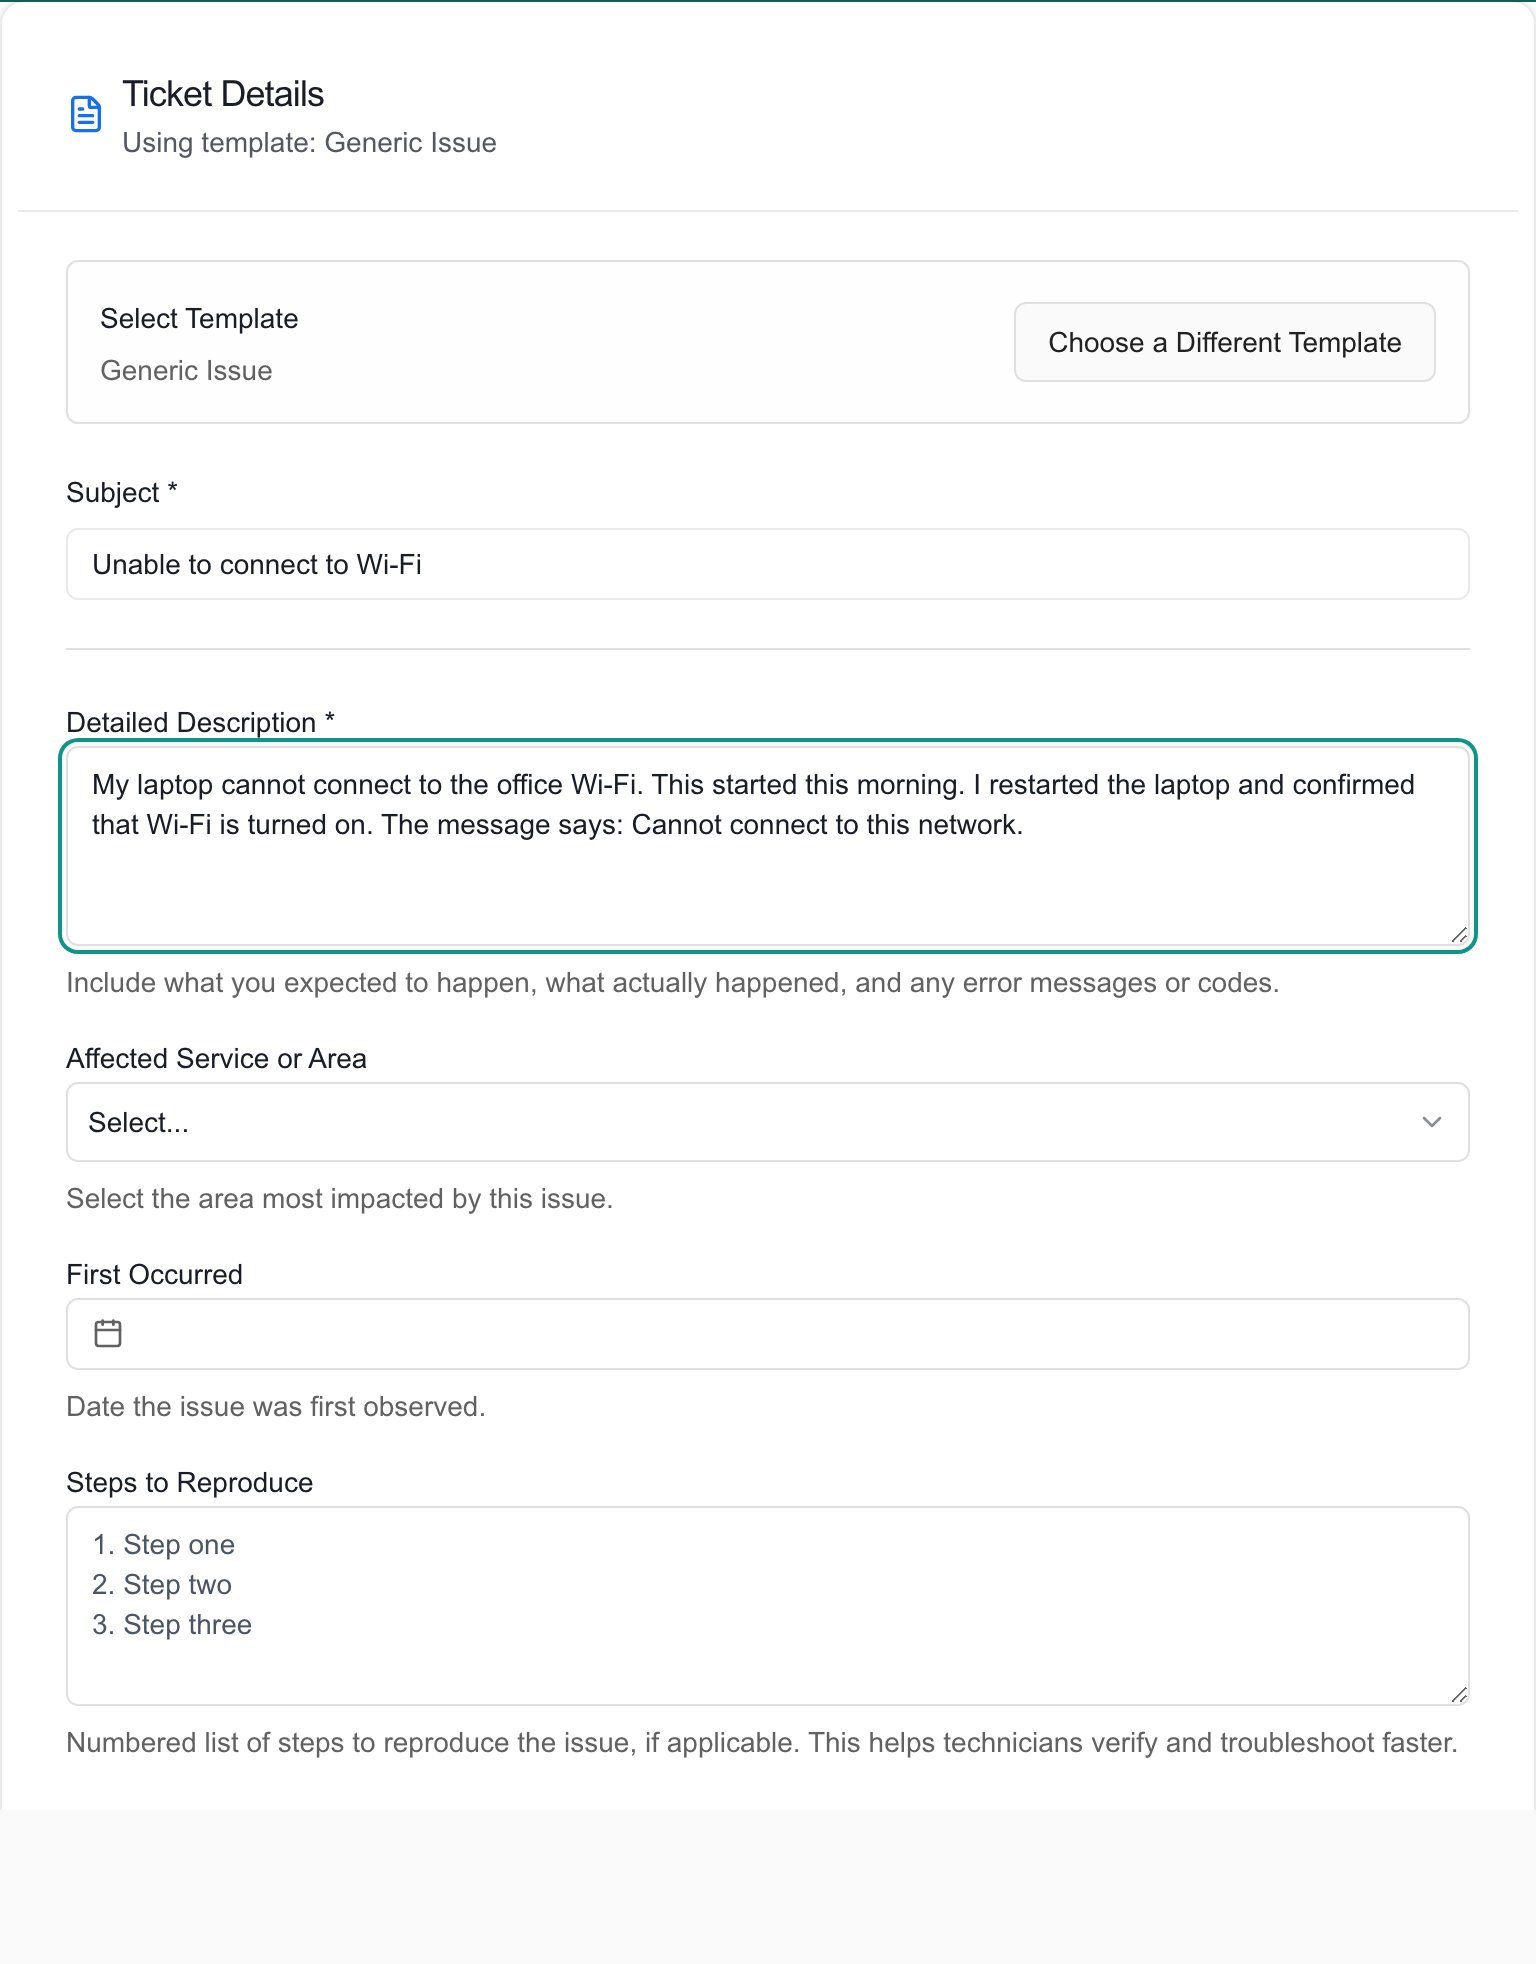
4
Add files and review
If the request has a file-upload field, attach screenshots or documents there. Check screenshots for unrelated personal information first.Review the subject, dates, selected people, and each required question. If your request contains another request form inside it, fill that in too. It creates its own ticket.
5
Create the ticket
Click Create Ticket at the top right, or use the round arrow on the last section. Wait for a message such as “Ticket #1234 created successfully!”If required questions are empty, the message lists them. Fill them in and click Create Ticket again.
Change the request type
Click the back arrow in the page header, or click Choose a Different Template if it shows. If you already entered answers, a confirmation asks you to Discard them or choose Keep editing. Changing the template clears the form, so copy anything you want to keep first.Schedule an appointment
If the request shows Schedule appointment, turn it on before you create the ticket. The ticket is created first, and then you continue to TimeZest to pick a time. Your IT provider must turn on scheduling for the request. If the ticket is created but the appointment cannot be prepared, contact your IT provider to book the time. You do not need to create the ticket again.Understand the result
Troubleshooting
Frequently asked questions
Where do I open a support ticket?
Where do I open a support ticket?
Start with the AI Assistant on Home. You can also click Tickets, then New Ticket, or open a direct request link from your IT provider.
Does describing my problem on Home send a ticket?
Does describing my problem on Home send a ticket?
No. The assistant prepares a draft. The ticket is created only after you click Review and submit and then Apply change.
Why can I view tickets but not create one?
Why can I view tickets but not create one?
Viewing and creating are separate permissions. Ask your IT provider to turn on creating for your role.
Do I have to use AI?
Do I have to use AI?
No. Click Tickets, then New Ticket, and fill in the form.
Why did one request create more than one ticket?
Why did one request create more than one ticket?
A template can include another request form. Each one creates its own ticket. The completion messages name each one.
Can I change my own permissions?
Can I change my own permissions?
No. Your IT provider manages permissions.